Moodle - How to add a Choice activity (staff/faculty)
![]()
This article explains the steps to add a Moodle Choice activity to your course.
From the main course page, click on edit mode radio button in the top right corner.

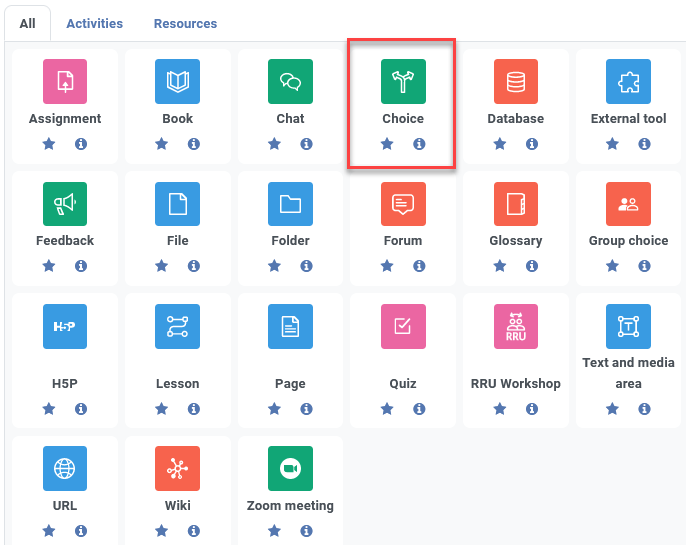
Locate the section in your course where you want to add the Choice poll. With editing turned on, click Add an activity or resource and choose Choice.
Type a name into the Choice name field. This will appear as the title for this activity. The Description field is optional, but it's recommended that you describe the purpose of the Choice.
/general-settings.png)
Options
Allow choice to be updated
- If this is set to Yes, students can change their mind after they have voted. If it's set to No, students cannot change their choice.
Allow more than one choice to be selected
- If this is set to Yes, students select more than one choice at a time.
Limit
- Enabling this option allows you to limit the number of participants who can select each particular choice. When that number has been reached, no one else can select that choice. Note that after enabling limiting that the default limit is zero, so you must set the limits if you enable this option or participants will not be able to choose any option.
/limits.png)
Enter Options (potential answers to the question you have posed)
- Enter the options that participants have to choose from. They will become radio buttons when the choice is saved.
- You can leave other options blank or click Add 3 fields to form to add more options.
- If Limit is disabled, then any number of participants can select any of the options.
Here's an example of how this might look: (any options not shown are set at their defaults)
/example1.png)
/example2.png)
Availability
/availability.png)
Restrict answering to this time period
- If you check this box you can set an open and close dates for the choice activity.
- If you don't check the box, students can respond at any time.
/results.png)
Results
This determines whether (and when) the students will be able to view the results of the choice activity. They may:
- never see the results of the choice
- see the results only after they have given the answer themselves
- see the results only after the closing date of the choice
- always see the results
Privacy of results
- If Publish was chosen above, then this dropdown is unlocked. You can decide whether to show names of students or merely the number who responded, but without names.
Show column for unanswered
- If set to Yes, this will display a column showing how many participants have not answered the choice activity yet. If set to No, the results will only include the participants who have already voted.
4. When you are done, click Save and return to course or Save and display.
/save-button.png)

Content on this page is licensed under a Creative Commons Attribution-ShareAlike 4.0 International license.
How to Contact the Computer Services Department
Submit a ticket
To submit a ticket, you will be required to log in using your FULL Royal Roads email address (detailed instructions here)
New! If you do not have a full RRU email address (students not currently in a credit program and/or visitors), you can create a portal account using your personal email address.
Phone: 250-391-2659 Toll Free: 1-866-808-5429
Come visit us in the Sequoia Building
Hours of Operation