How to Export Sharepoint list to Excel
If someone cannot view a list in "Datasheet Mode" (for advanced queries on the list), it might be worth downloading the list to Excel and use its query capabilities.
NOTE: the downloaded spreadsheet is not connected to the original list so any updates here will not reflect there.
Step-by-step guide
- In Sharepoint, open the list you want to export and, from the top menu, select "List":

- From the options that will be shown, select "Export to Excel":

- This will bring a dialog box at the bottom of the screen. Just press "Save":
(Please note the strange name it will give to your file (in this case "owssvr.iqy")
- Open Excel and create a blank Spreadsheet:

- Once opened, click on the "Data" tab. This will bring the Data options. Among them, select the "Existing Connections":

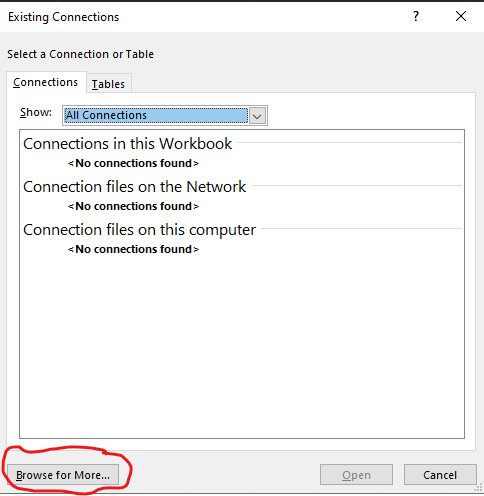
- That will open a dialog box. Click on "Browse for More ..." (bottom-left corner):
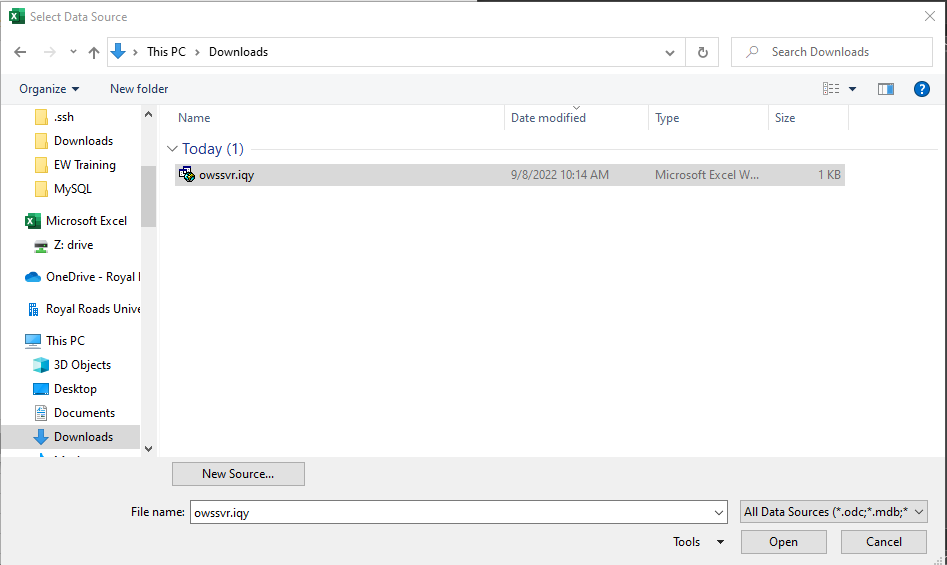
- That will open another dialog box for you to select the strangely named file downloaded earlier (in my case it was downloaded to the "Download" folder):
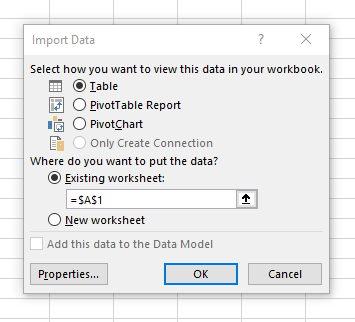
- Select the file and click on "Open". That will bring you a last dialog box. Leave it as is and click "OK":
- That should bring you your list inside Excel.
Related articles
How to Contact the Computer Services Department
Submit a ticket
To submit a ticket, you will be required to log in using your FULL Royal Roads email address (detailed instructions here)
New! If you do not have a full RRU email address (students not currently in a credit program and/or visitors), you can create a portal account using your personal email address.
Email us at IT Customer Service
Contact Form
Phone: 250-391-2659 Toll Free: 1-866-808-5429
Come visit us in the Sequoia Building
Hours of Operation