Moodle - Group Choice activity (staff/faculty)

Topics covered in this article
Introduction
The Moodle Group Choice activity allows students to add themselves to a group within a course. The instructor can select which groups students can choose from and the maximum number of students allowed in each group. Depending on the settings, students can view the members of each group before making a choice, and change their selected group until the deadline.
Adding a Choice activity
Turn editing on.
In the section where you'd like to add the Choice activity, select Add an activity or resource.
Select Group Choice.
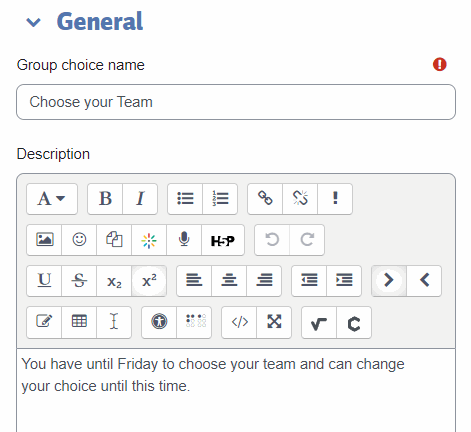
Enter a name for the Group Choice and a description
Miscellaneous settings
- Allow enrollment to multiple groups: Enable if you'd like students to be able to choose multiple groups.
- Max. enrollments: Limit how many groups students can enrol in.
- Publish results: By default students will be able to see who has chosen what groups, possibly influencing their choices. Select the drop-down-menu to see the other options.
- Privacy of results: By default students can see the names of the results but this can be set to anonymous if needed.
- Allow choice to be updated: Determine whether or not students can update their choice. If updating is enabled, you can prevent choice from being updated after a certain date by setting Restrict answering to this time period below.
- Show column for unanswered: Showing a column for unanswered may make it it easier to see how many people haven't made a choice yet.
- Filter out response data for users with expired or suspended enrolments: This determines whether students are included who have made a choice and then been removed from the course for some reason (e.g., voluntary withdrawal).
- Limit the number of responses allowed: Limit how many students can choose each group.
- General limitation: If you've enabled group limits and wish to have the same limit on all groups you can set it here and then select the Apply to all Groups button.
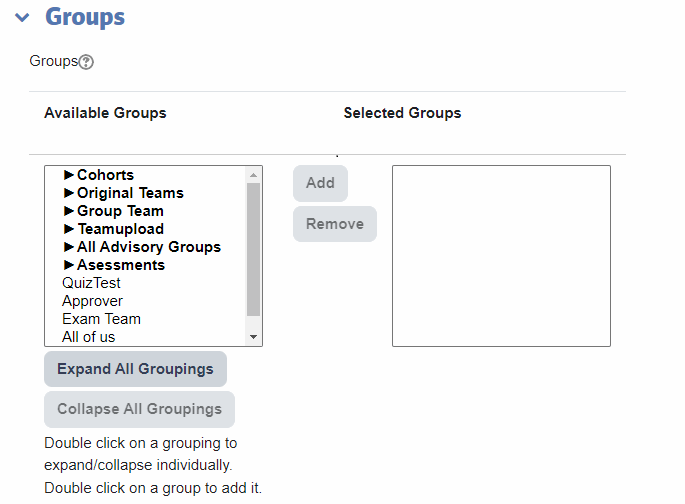
Select which groups to include in the Group Choice
On the left, select the groups you'd like to include in the Group Choice. With the groups selected, select the Add Groups button to include the groups in the choice.
Once you've added the groups they will appear on the right.
Limiting how many students can choose each group
The number in parenthesis after each group indicates the maximum number of students who can choose that group. In this example, each group has been set to a maximum of 3. If you'd like to change the group limit on all groups, return to General limitation above, enter a new value, and select the Apply to all Groups button.
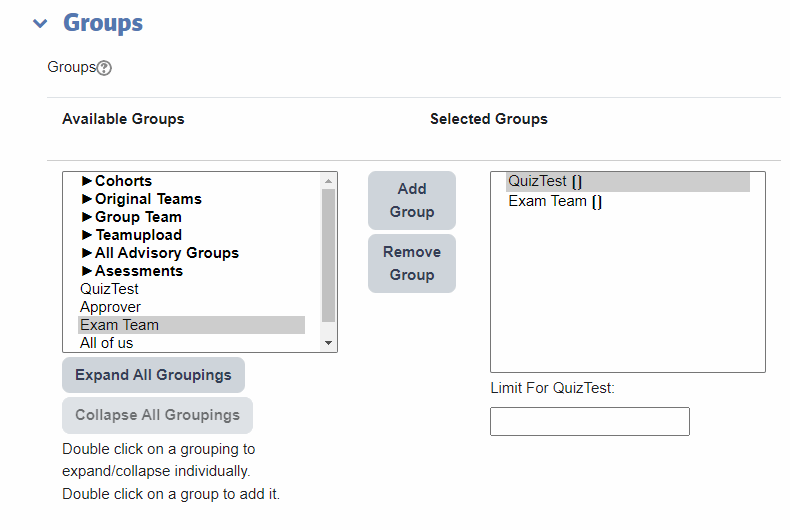
If you'd like to set individual group limits, select a group and enter a limit for that group as shown below.

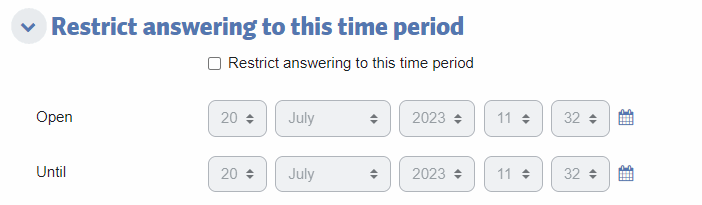
Restricting when students can make or change their choice
To only allow choices from being made or changed, set an open and/or until time for the Choice activity.
You're done!
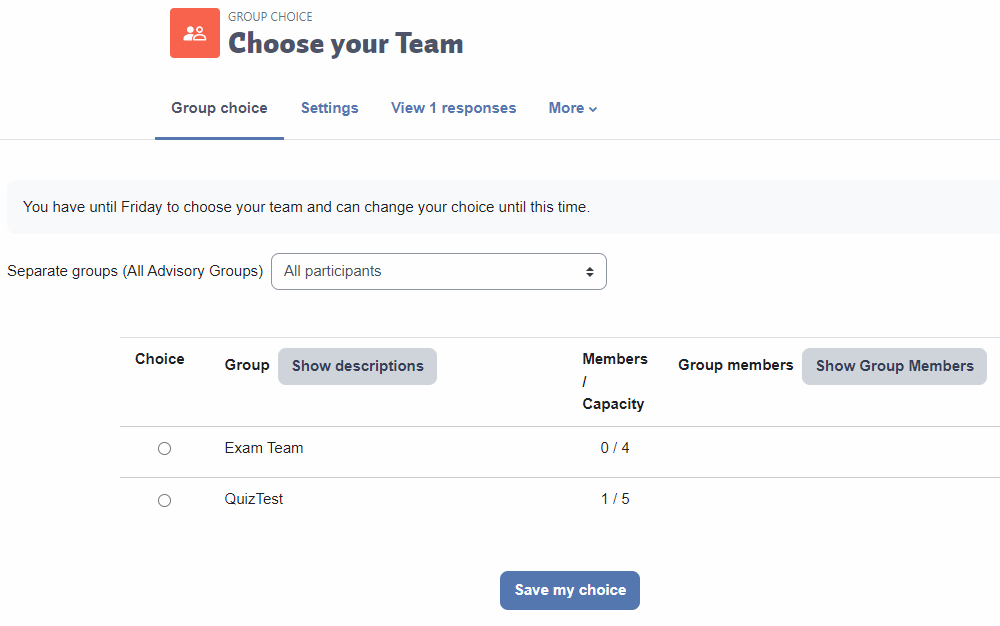
Student View
Depending on the settings, students will see something similar to the following when making their choice.

Content on this page is licensed under a Creative Commons Attribution-ShareAlike 4.0 International license.
How to Contact the Computer Services Department
Submit a ticket
To submit a ticket, you will be required to log in using your FULL Royal Roads email address (detailed instructions here)
New! If you do not have a full RRU email address (students not currently in a credit program and/or visitors), you can create a portal account using your personal email address.
Phone: 250-391-2659 Toll Free: 1-866-808-5429
Come visit us in the Sequoia Building
Hours of Operation