Moodle - Quiz activity (staff/faculty)
- Jason 1keddie
- Karyn Lemberg
- Zac Macdonald

Topics Covered in this Article
The following video is a brief overview of the Quiz Activity
How To Add A Quiz
1. To start editing from the Main Course page select Turn edit mode on/off button in the top right corner.

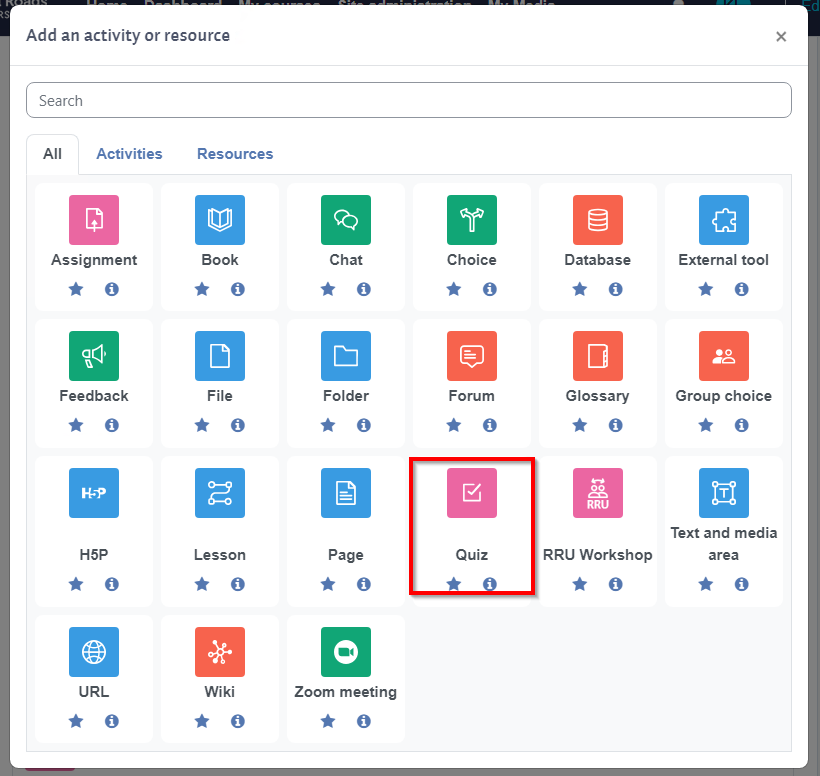
2. Locate the section in your course where you want to add the Quiz, and at the bottom select Add an activity or resource.

From the pop-up window, select Quiz.
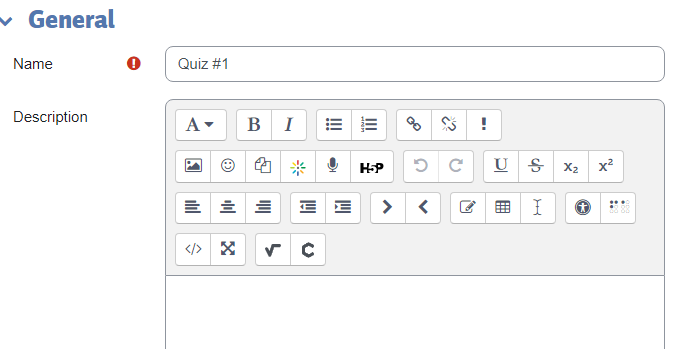
3. Enter a name into the Name field. This will appear as the activity title. Enter a Description so students understand what topics the quiz will cover. Students will see the Description before they start the quiz, so it is a good place to include any special instructions for taking the quiz.
Timing
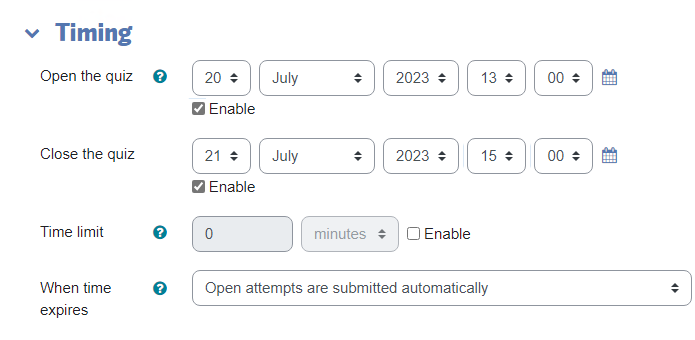
Open the quiz
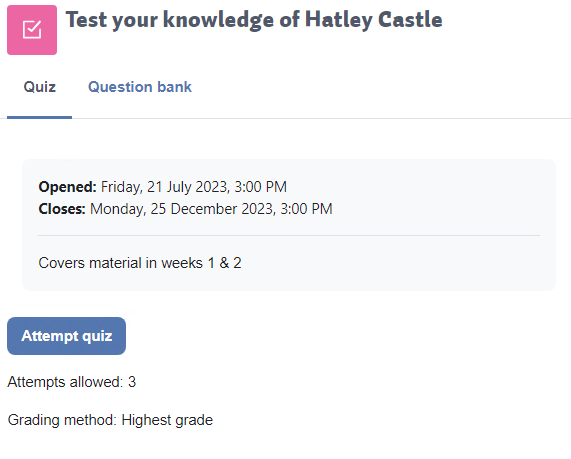
- Specify when students are able to start the quiz. Before the quiz is open, students will be able to see basic information such as the example below:
Close the quiz
- Once the quiz closes, current quiz attempts are closed and students cannot start new quiz attempts.
Time limit
- The amount of time a student has to complete a quiz can be controlled by open and close times and/or by use of a timer. For example, the open and close times could set a 3 hour window for students to attempt a quiz and a 1-hour timer could be set to limit quiz attempts within this 3 hour window to single hour.
- When using either the timer or a quiz close time a countdown timer is shown to students during the quiz with the remaining time.
- A timer does not override the quiz closing time.The amount of time a student has left to complete a quiz attempt is either the remaining duration of the timer or the close time, whichever is less.
When time expires
It's recommended to set this to Open attempts are submitted automatically to ensure that student's attempts are submitted if the student works on the quiz until the end without submitting.
Grade
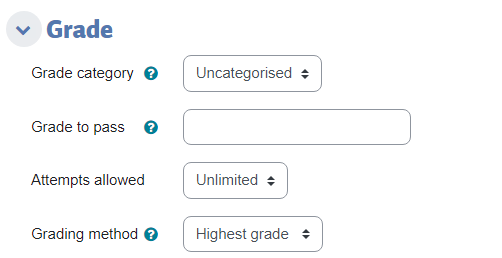
Grade category - optional, only use this if you want to place the quiz into a category in the gradebook.
Grade to pass
- This setting is rarely used. The value may be used in activity and course completion, and in the gradebook, where pass grades are highlighted in green and fail grades in red.
Attempts allowed
- Students may be allowed to have multiple attempts at a quiz. This can help make the process of taking the quiz more of an educational activity rather than simply an assessment. If the quiz is randomized then the student will get a new version for each attempt. This is useful for practice purposes.
Grading method
When multiple attempts are allowed, there are different ways that the attempt grades can be used to calculate the student's final grade for the quiz.
- Highest grade - the final grade is the highest (best) grade in any attempt
- Average grade - the final grade is the average (simple mean) grade of all attempts
- First grade - the final grade is the grade earned on the first attempt (other attempts are ignored)
- Last grade - the final grade is the grade earned on the most recent attempt only
Layout
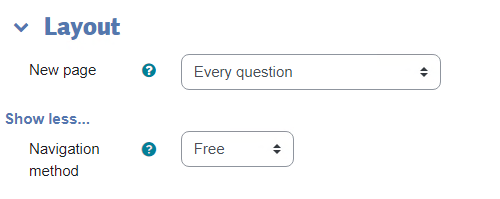
New page
- For longer quizzes it makes sense to stretch the quiz over several pages by limiting the number of questions per page. When adding questions to the quiz, page breaks will automatically be inserted according to the setting you choose here. However, you will also be able to move page breaks around by hand later on the editing page.
Navigation method
- When sequential navigation is enabled a student must progress through the quiz in order and may not return to previous pages nor skip ahead.
Question behaviour
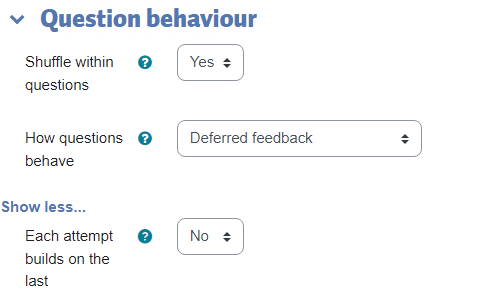
Shuffle within questions
- If enabled, the parts making up each question will be randomly shuffled each time a student attempts the quiz, provided the option is also enabled in the question settings. This setting only applies to questions that have multiple parts, such as multiple choice or matching questions.
How questions behave
- Adaptive mode and Adaptive mode (no penalties) - Allows students to have multiple attempts at the question before moving on to the next question. The question can adapt itself to the student's answer, for example by giving some hints before asking the student to try again.
- Deferred feedback - Students must enter an answer to each question and then submit the entire quiz before anything is graded or they get any feedback.
- Immediate feedback - Similar to interactive mode in that the student can submit their response immediately during the quiz attempt, and get it graded. However, they can only submit one response; they cannot change it later.
- Allow redo within an attempt (enabled if Immediate feedback is selected)
- If enabled, then when students have finished attempting particular question, they will see a Redo question button. This allows them to attempt another version of the same question, without having to submit the entire quiz attempt and start another one. This option is mainly useful for practice quizzes.
- This setting only affects questions (for example not Essay questions) and behaviours (for example Immediate feedback, or Interactive with multiple tries) where it is possible for student to finish the question before the attempt is submitted.
- Allow redo within an attempt (enabled if Immediate feedback is selected)
- Deferred feedback or Immediate feedback with Certainty-based marking (CBM) - With CBM, the student does not only answer the question, but they also indicate how sure they are they got the question right. The grading is adjusted by the choice of certainty, so that students have to reflect honestly on their own level of knowledge in order to get the best mark.
- Interactive with multiple tries - After submitting one answer and reading the feedback, the student has to slect a 'Try again' button before they can try a new response. Once the student answers the question correctly, they can no longer change their response. If the student answers incorrectly too many times, the question is graded incorrect (or partially correct) and the student is shown the feedback and can no longer change his/her answer. There can be different feedback after each try the student makes.
Each attempt builds on the last
- If multiple attempts are allowed and this setting is enabled, each new quiz attempt will contain the results of the previous attempt. This allows a quiz to be completed over several attempts.
- If you're giving students a window of time that's just long enough to complete the quiz it may make sense to enable both multiple attempts and each attempt builds on the last so that if a student gets disconnected from the internet and returns to complete the quiz that the student can essentially continue where they left off.
Review options
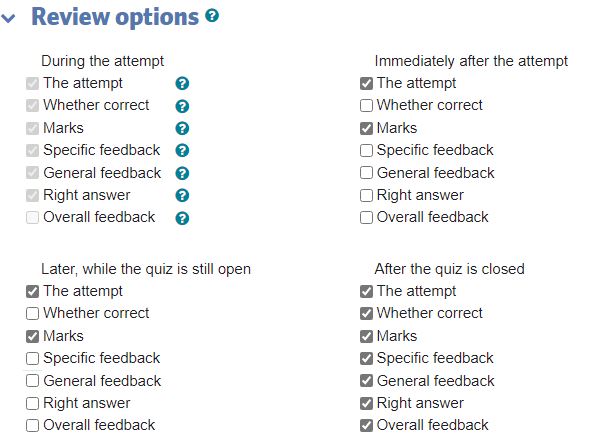
This section controls what information students will be shown when they review their past attempts at the quiz, and during the attempt in adaptive mode. It is a matrix with check boxes. The various pieces of information that can be controlled are:
The attempt
- Will show how the student responded to each question.
Whether correct
- Displays whether the student's response to each question is correct or incorrect.
Marks
- Reveals the marks awarded to the student and the grade for the quiz.
Specific feedback
- Will show the feedback for the response to the answer as set when adding the question to the quiz. Each response to a question can have feedback for both correct and incorrect answers.
General feedback
- Displays the general feedback for the whole question as set when adding the question to the quiz. You can use the general feedback to give students some background to what knowledge the question was testing.
Right answer
- Reveals the correct answer to each question, whether the student answered correctly or not (See note below).
Overall feedback
- Displays feedback for the entire quiz as set in the quiz settings (See note below).
For each of the above items, you can determine the time frame when the students will see them:
During the attempt
- Is only available when ‘How questions behave’ has been set to ‘Immediate feedback’, ‘Immediate feedback with CBM’ and ‘Interactive with multiple tries’. If set to one of these options then a ‘Check’ button will appear below the answer and when selected the student will submit that response and then receive immediate feedback.
Immediately after the attempt
- Means within 2 minutes of the student selecting "submit all and finish".
Later, while the quiz is still open
- Means after 2 minutes, but before the close date (if the quiz does not have a close date, this phase never ends).
After the quiz is closed
- Means what it says (you never get here for quizzes without a close date).
- Tip: Checking any of the boxes in the time frame row will reveal the test to the student. For example, to allow students to see their quiz immediately after taking it but not later, make sure none of the boxes in "Later" or "After" rows are checked. The student will be able to see their grade but not get into the quiz.
Overall feedback
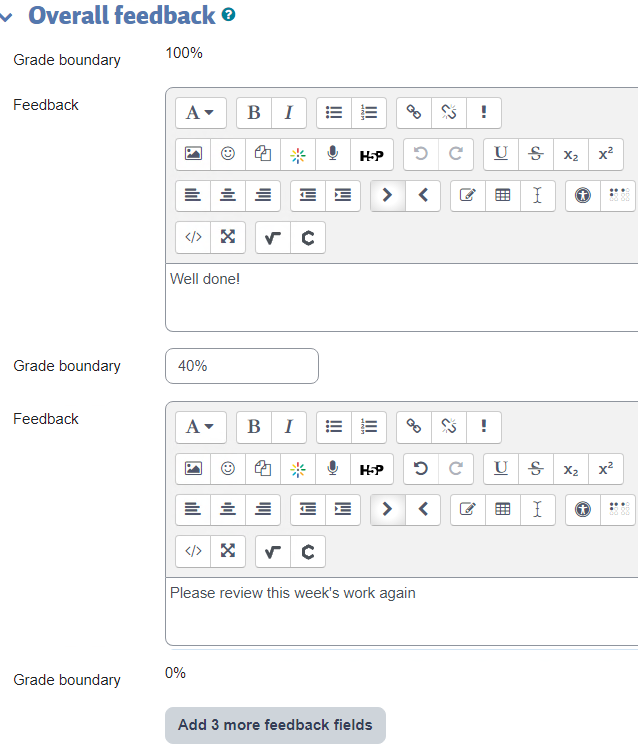
Feedback is shown to students after they have completed an attempt at the quiz.The text that is shown can depend on the grade the student received. For example, if you entered:
- Grade boundary: 100%
- Feedback: "Well done"
- Grade boundary: 40%
- Feedback: "Please study this week's work again"
- Grade boundary: 0%
Then students who score between 100% and 40% will see the "Well done" message, and those who score between 39.99% and 0% will see "Please study this week's work again". That is, the grade boundaries define ranges of grades, and each feedback string is displayed to scores within the appropriate range. Grade boundaries can be specified either as a percentage, for example "31.41%", or as a number, for example "7". If your quiz is out of 10 marks, a grade boundary of 7 means 7/10 or better.
You can set as many or as few grade boundaries as you wish. The form allows you up to 5 ranges at first, but you can add more by selecting the "Add 3 fields to form" button underneath.
Note: the maximum and minimum grade boundaries (100% and 0%) are set automatically.
4. When you have finished setting up the quiz, select Save and return to course. If you want to review the quiz, select Save and display.

How To Create A New Question
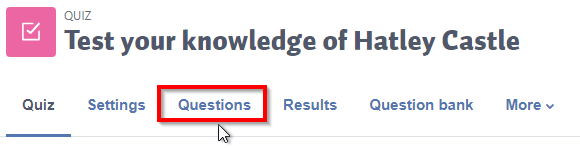
Navigate to the quiz, and then select the Questions on the secondary nav bar.

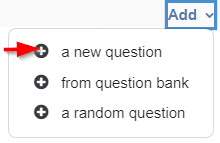
Select the Add button at the bottom right.

Then Select a new question.
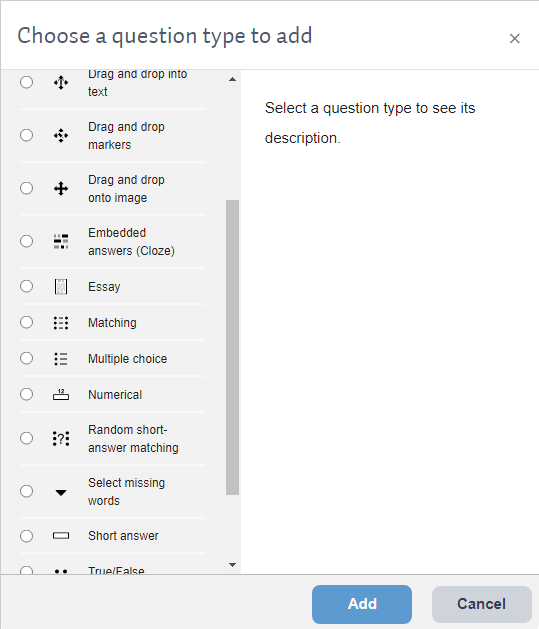
Select the type of question to add and select the Add button. Information on types of Quiz questions may be found here.
Fill out the required fields for the question type you've chosen and select the Save changes button.
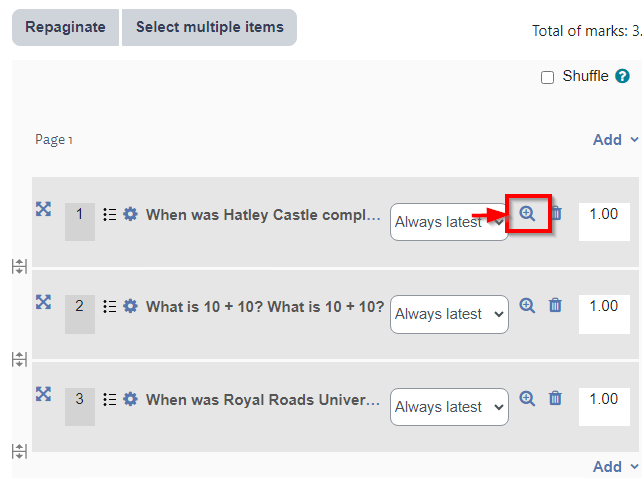
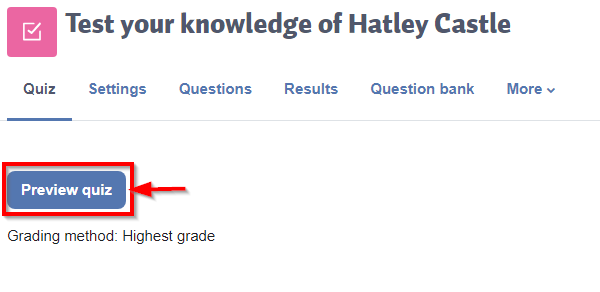
You may preview the question by selecting the Preview question button shown below.
You may preview the full quiz by selecting Preview on the Quiz page.
Quiz Question Bank
You can create questions in the question bank, and then use them in one or more quizzes in your course.
If you think you will want to use your quiz questions in more than one quiz, you are strongly encouraged to use the Question bank to create the questions. Categories can be created in the question bank and questions moved from one category to another.
Adding Questions To The Question Bank
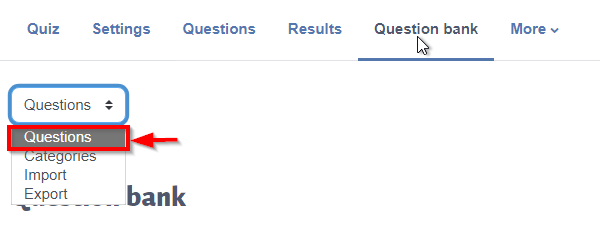
Select Questions under Question bank in the Secondary Nav bar.
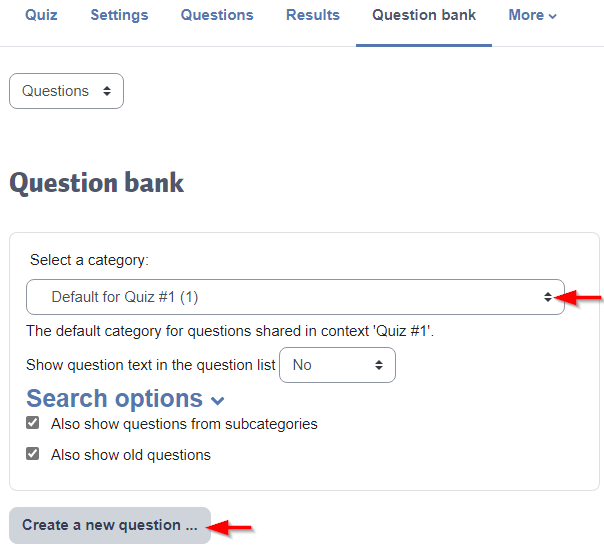
Select the category you wish to add a question to and then select the Create a new question button.
The remaining steps are similar to How To Create A New Question.
Adding A Question From A Question Bank
Navigate to the quiz, and select the Questions tab.
Select the Add button at the bottom right.
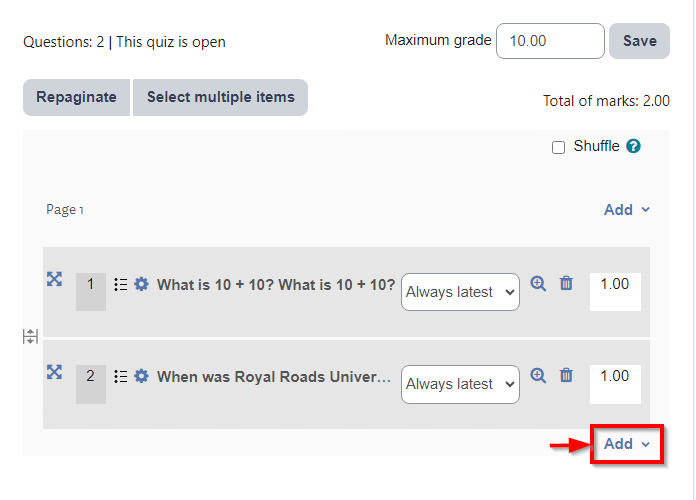
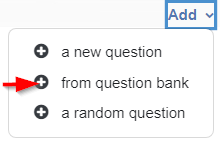
Then select from question bank.
Select the category to add quiz questions from.
/add-from-questionbank-select-a-category.png)
Select the Add to quiz button to add the question and then select Add selected questions to the quiz.
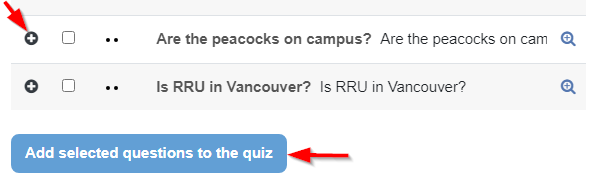
If you want to add multiple questions from one question bank, select the select boxes next to each question that you would like to add and then select the Add selected questions to the quiz button.
Editing a Quiz
If you need to edit the quiz questions, navigate to the quiz. Then select the Questions tab. If you need to change the name of the quiz or change other administrative settings for the quiz, select Settings.
Note: Questions can only be edited if there are no attempts on the quiz, in other words, only if students have not taken the quiz. If there are attempts, you will need to delete the attempts before you can edit the questions for that quiz. Deleting an attempt will delete the grade obtained by the student on that quiz. You can download student responses before you delete an attempt. It is a good idea to preview your quiz before you make it available to students. That way you can edit any questions or fix any errors before students access it.
Questions in the Question bank can be edited at any time, however, changes made to the question will not be reflected in the quiz where the question is being used. You will need to re-add the edited question to the quiz. Likewise, any edits made to a question from within a quiz will not be reflected in the question bank.
Importing questions into Quiz
You may have quiz questions that you want to import into Moodle. For more information on importing quiz questions, refer to the moodle.org documentation or contact STUDIO.
Quiz questions are usually imported in either Aiken or GIFT formats.
Here are the steps to import questions that you have in a text file in one of these formats.
Navigate to the main course page, select More and then select Question bank.

From the menu at the top left, select Categories.

Ensure that you have a category to put your questions into. If not, create a new category for your question with the Add category button.
When you have a category to import your questions into, from the menu at the top left, select Import.

Select the format of the file that you're importing. (question formats are explained here. Aiken and GIFT are most common)
The quiz questions must match this format exactly.

Choose the category that you'd like the questions to be imported into.

Either drag and drop your quiz question file into the box or select Choose a file and navigate to the file. Select the Import button.

The next page will indicate if there were any errors importing your quiz questions.

Adding Randomly Selected Questions
Once you've added questions to a category in the question bank, you may choose to have a certain number of those questions randomly selected when a student is completing the quiz, which will ensure that each student isn't completing the same quiz questions.
Navigate to the quiz. Then select Questions.
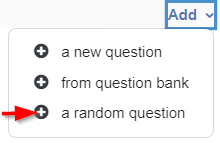
Select the Add button at the bottom right.
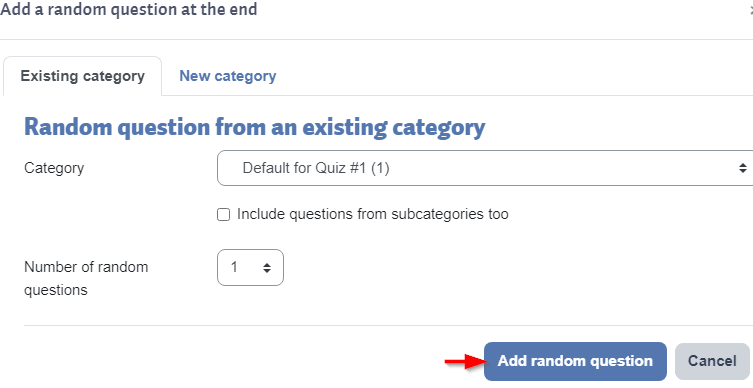
Then select a random question.
Choose the category you would like the questions to be randomly selected from. You may also choose to include all subcategories.
Select the number of random questions.
When you're done, select the Add random question button.
The edit quiz page will list the random questions.

Content on this page is licensed under a Creative Commons Attribution-ShareAlike 4.0 International license.
Related content
How to Contact the Computer Services Department
Submit a ticket
To submit a ticket, you will be required to log in using your FULL Royal Roads email address (detailed instructions here)
New! If you do not have a full RRU email address (students not currently in a credit program and/or visitors), you can create a portal account using your personal email address.
Email us at IT Customer Service
Contact Form
Phone: 250-391-2659 Toll Free: 1-866-808-5429
Come visit us in the Sequoia Building
Hours of Operation