Moodle - Wiki activity (staff/faculty)
- Jason 1keddie
- Zac Macdonald
- Jeremy Fuller

Topics Covered In This Article
How To Add A Wiki
1. Select the Turn Editing on/off button on the top right corner of your screen.
/turn-editing-on.PNG)
2. Select Wiki from the Add an activity or resource menu in the course section where you would like to add the wiki.
/add-wiki-activity.png)
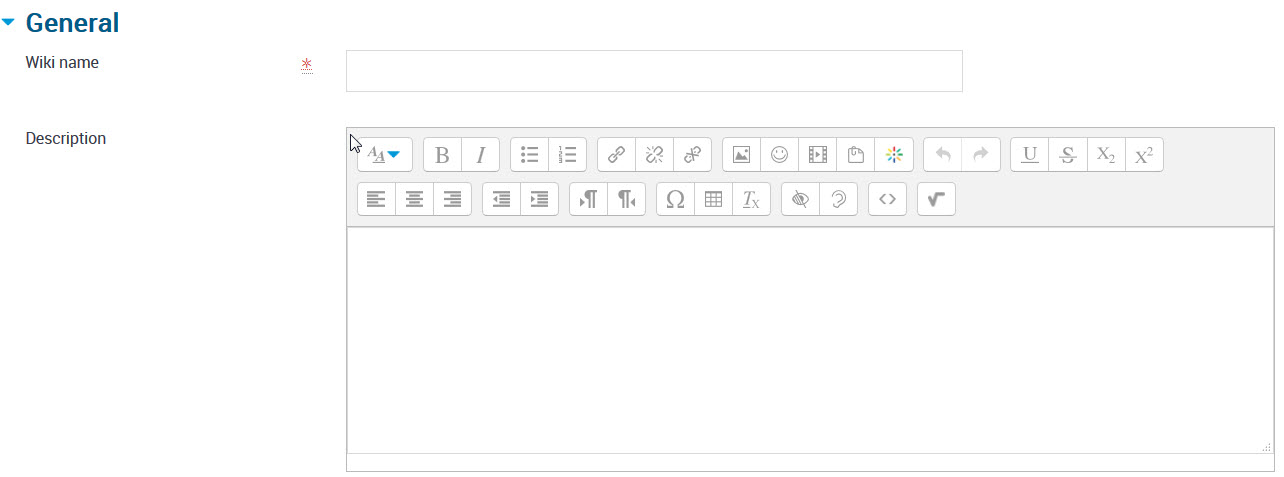
3. On the Adding a new wiki page, give the wiki a descriptive name. The Description field is optional, but it's recommended that you describe the purpose of the wiki and what you expect participants to contribute.
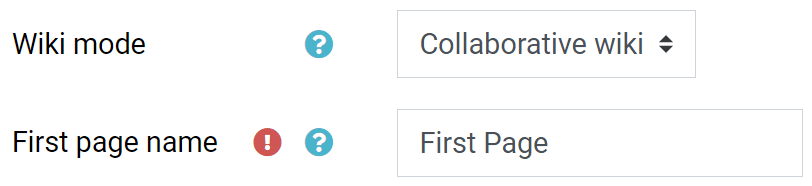
Wiki mode
The default wiki mode of collaborative wiki is usually what you want.
- Collaborative wiki (the default): everyone can edit and contribute to a single, shared wiki.
- Individual wiki: everyone has their own wiki which only they can view and edit
- A common question is whether an individual wiki can be configured so that participants can view each other's wikis, and the answer is unfortunately no. If you need this functionality, consider the following options: (1) Use a team wiki with 'visible groups' and put each participant into a team of one, or (2) consider using Moodle Glossary instead as it can be configured so that anyone can see glossary entries but only the creator of the entry can edit it, and each participant could create and edit a Glossary entry for themselves.).
First page name: enter a page name that will appear at the top of the first page of the wiki. This name cannot be changed once the wiki has been saved.
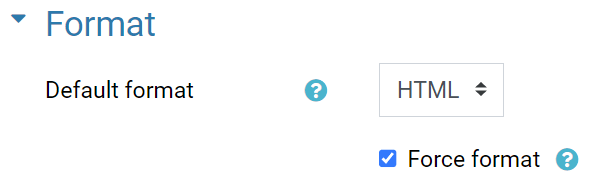
Format
It's recommended to leave Default format to HTML and enable Force format. This will both (1) prevent the format from being switched to other formats that can be problematic, and (2) it will automatically create a blank page for your participants.
Common module settings
Set the Common module settings if this is a group activity.
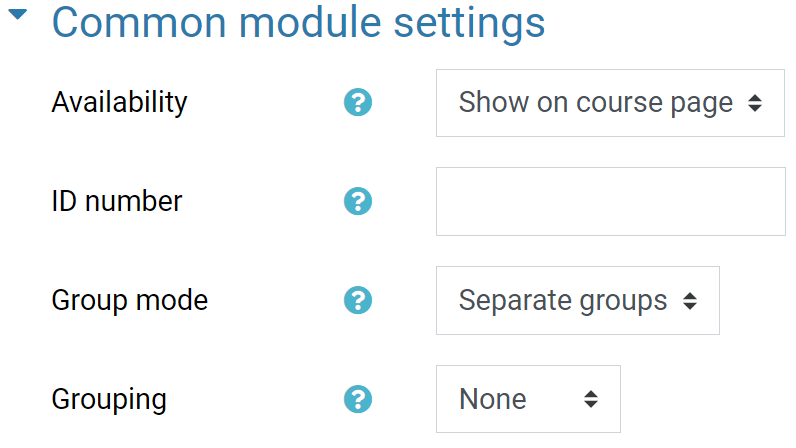
Group mode
- No groups (the default): The collaborative wiki will use a single wiki for all partitipants.
- Separate groups: The collaborative wiki will use a wiki for each team, and teams will not be able to see the wikis of other teams.
- Visible groups: The collaborative wiki will use a wiki for each team, and teams will be able to view (but not edit) the wikis of other teams.
4. Scroll to the bottom and select Save and display to open the wiki.
![]()
Adding Additional Pages To A Wiki
Type the name of your new page inside double brackets.
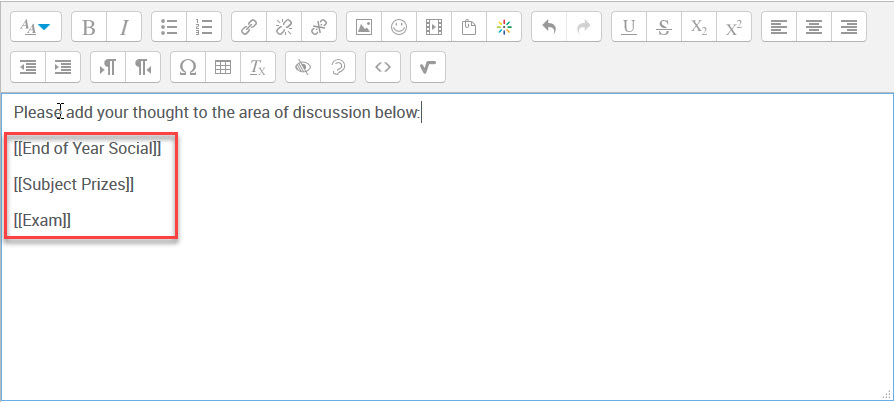
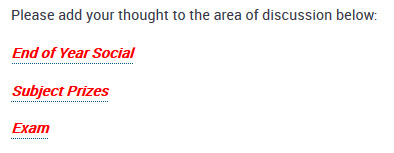
Clicking the Preview button will show how the page looks and functions after you save it. The page names in the double brackets are now links, and clicking on the links will prompt you to create a page in the same way that creating the wiki prompted you to create the first page of the wiki.
Deleting Wiki Pages
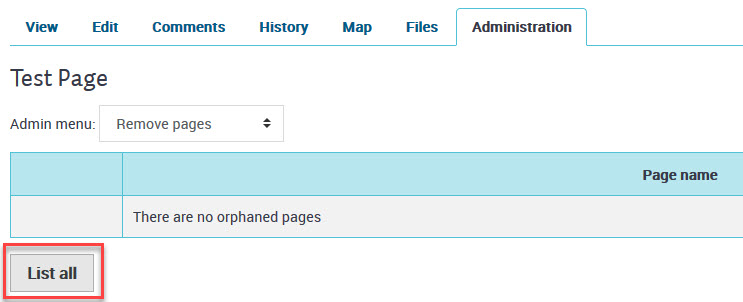
To delete a page, click on the Administration tab.

If necessary to see the page you'd like to delete in the list, click the List all button.
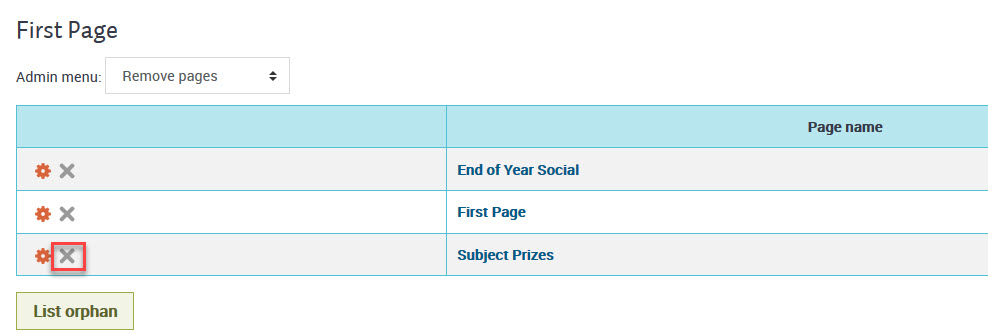
Click the Delete button next to the page you would like to delete.
Adding/Removing Table of Contents
A table of contents is added automatically when a page includes headings. If you do not want a Table of Contents, remove any headings from pages and the table of contents should disappear.

Content on this page is licensed under a Creative Commons Attribution-ShareAlike 4.0 International license.
Related content
How to Contact the Computer Services Department
Submit a ticket
To submit a ticket, you will be required to log in using your FULL Royal Roads email address (detailed instructions here)
New! If you do not have a full RRU email address (students not currently in a credit program and/or visitors), you can create a portal account using your personal email address.
Email us at IT Customer Service
Contact Form
Phone: 250-391-2659 Toll Free: 1-866-808-5429
Come visit us in the Sequoia Building
Hours of Operation