Moodle - Glossary activity (staff/faculty)
- Jason 1keddie
- Zac Macdonald
- Jeremy Fuller

Topics Covered In This Article
Introduction
The Glossary activity allows you and your students to create and maintain a collection of concepts and definitions for your course. The simplest example is a glossary of key terms, but Glossary is a versatile tool that can be used for a variety of purposes, creating an engaging and effective learning experience for your students. Glossary definitions can include text, images, audio, and video. Glossary entries can be browsed or searched.
Glossary is intended as a student activity, so the content entered into a glossary isn't automatically copied from the previous course offering.
The following video is supplemental to this written article.
Design Ideas
Refer to Moodle - Glossary Activity Design Ideas for some great ideas on how to design an engaging student activity using Glossary.
How to create a glossary
1. Turn editing on. From the main course page, select the Turn Editing on/off button on the top right.
/editing-on.png)
2. Locate the section in your course where you want to add the Glossary. At the bottom of the section, select Add an activity or resource.

From the pop-up window, select Glossary.
/add-glossary-activity.png)
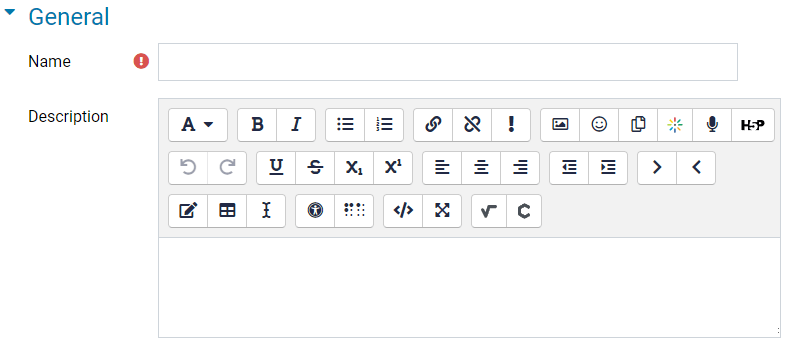
3. Enter a Name to give this glossary a title. Add a Description so that students know how to complete or contribute to the activity.
Entries
Approved by default: If set to no, entries require instructor approval before they are viewable by other students.
Always allow editing: This setting specifies whether entries can be edited at any time or only during the editing window, which is 30 minutes after posting.
Duplicate entries allowed: allows the entry of more than one definition for a given term.
Allow comments on entries: Students and teachers can leave comments on glossary entries.
Automatically link glossary entries: If the Glossary auto-linking filter is enabled for the course, enabling this allows individual entries in this glossary to be automatically linked whenever the concept words and phrases appear throughout the rest of the same course. This includes forum postings, internal resources, week summaries, and so on.
/entries.png)
Appearance
Display format
That specifies the way that each entry will be shown within the glossary. The default formats are:
- Simple, dictionary style - Like a conventional dictionary with separate entries. No authors are displayed and attachments are shown as links.
- Continuous without author - Shows the entries one after other without any kind of separation but the editing icons.
- Encyclopedia - Like 'Full with author' but attached images are shown inline.
- Entry list - Lists the concepts as links.
- FAQ - Useful for displaying lists of frequently asked questions. It automatically appends the words QUESTION and ANSWER in the concept and definition, respectively.
- Full with author - A forum-like display format showing author's data. Attachments are shown as links.
- Full without author - A forum-like display format that does not show author's data. Attachments are shown as links.
Approval display format
When approving glossary items you may wish to use a different display format.
Entries shown per page
This sets the number of words and definitions that students will see when they view the glossary list. If you have a large number of automatically-linked entries, you should set this number lower to prevent long loading times.
Show "All" link
Show "Special" link
If enabled, participants can browse the glossary by special characters, such as @ and #.
Allow print view
This provides a printer-friendly version link for students. (Instructors are always provided with a printer-friendly version link.)
/appearance.png)
4. When you have finished setting up the forum, click Save and return to course. If you want to review the Glossary, click Save and display.
/save-button.png)
How to add entries to a glossary
For more information on adding entries to a glossary, refer to the official Moodle documentation.

Content on this page is licensed under a Creative Commons Attribution-ShareAlike 4.0 International license.
How to Contact the Computer Services Department
Submit a ticket
To submit a ticket, you will be required to log in using your FULL Royal Roads email address (detailed instructions here)
New! If you do not have a full RRU email address (students not currently in a credit program and/or visitors), you can create a portal account using your personal email address.
Email us at IT Customer Service
Contact Form
Phone: 250-391-2659 Toll Free: 1-866-808-5429
Come visit us in the Sequoia Building
Hours of Operation