Moodle My Media - How to create a screencast (using Kaltura Capture)
- Jason 1keddie
- Anthony 1manning
- Lauren HalcombSmith (Deactivated)
- Cathy Pretorius

Topics covered in this article
Introduction
A screencast is a recording of what is on your computer screen, often containing audio narration. Another name for a screencast is video screen capture or screen recording. Screencasts are useful for how-to-guides, narrated demonstrations, course tours, tutorials, slideshows, etc.
You can record screencasts directly from your My Media page. To do this, you will need to install the My Media application called Kaltura Capture. Once you have made your recording, you can upload to your My Media library and embed it anywhere the Moodle text editor is available.
To learn how to make a screencast, watch this video or read step-by-step instructions below.
How to create a screencast
1. Open Kaltura Capture
From Moodle, click on My Media top right.

- From the My Media window, click on Add New and then Kaltura Capture.

- If you’ve already installed Kaltura Capture, it will launch automatically. Otherwise, please refer to Moodle My Media - Installing Kaltura Capture.
2. Enable the SCREEN input in the Kaltura Capture recorder
- The Kaltura Capture desktop recorder window (pictured below) will open.
- Check to see if Screen is enabled, it will look blue. If not, select Screen before recording your screencast.
- If you would like to include your webcam in the corner of your recording check to see if Camera is already enabled or select Camera to turn it on.
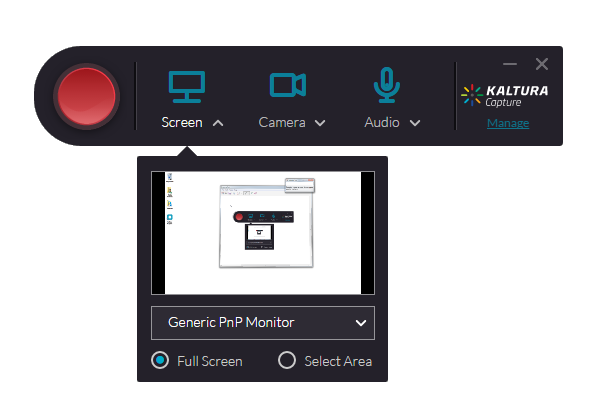
- If you have multiple screens and want to record only one screen, simply click one of the Screen icons until it becomes grey, this will disable it.
- For an overview of the recording options, please go to How to select the recording options (using Kaltura Capture).

3. Click RED RECORD CIRCLE to start recording
- If you've selected Full Screen click the Record button.
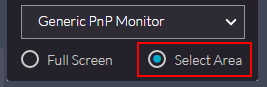
- If you've selected Select Area click the Select Area button, which will prompt you to select a window size for recording.
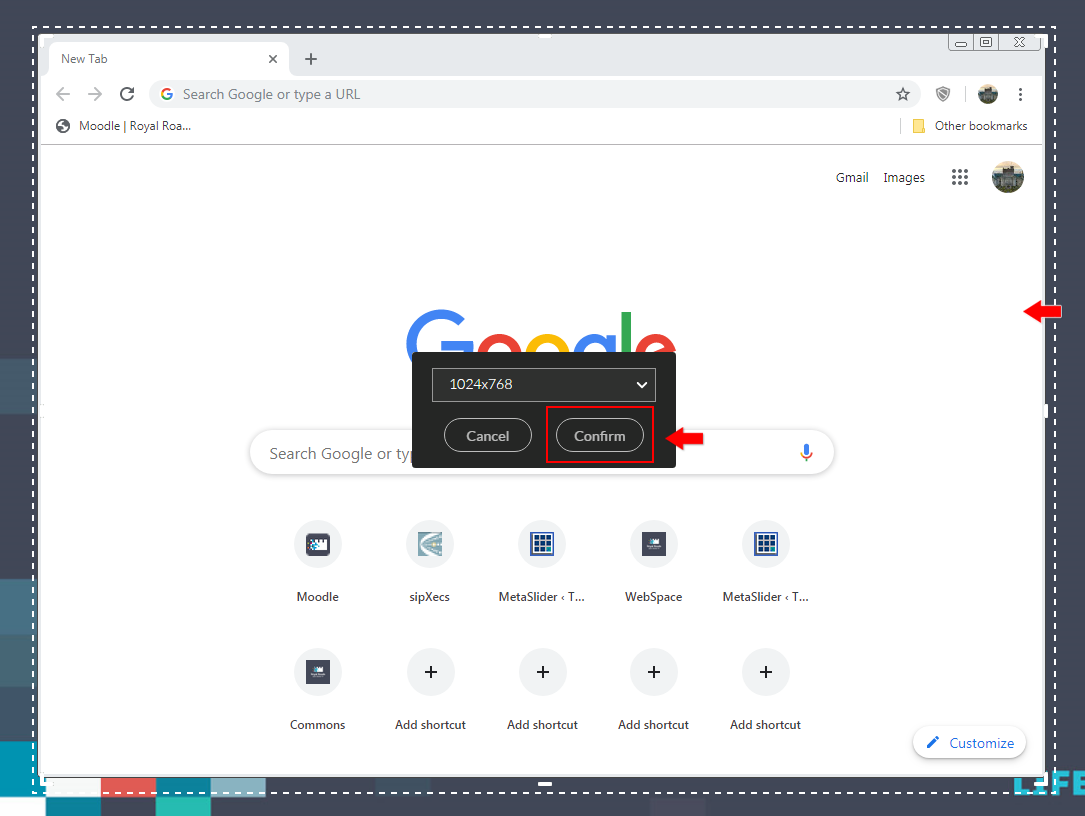
- Choose on of the following size options from the drop down menu (it will be easier if you choose one of the predefined sizes) and click Confirm.

- Open the browser window or application that you will be recording.
- Drag your browser window or application window into the dashed lines of the recording window area.
- Resize the browser window or application so it fits inside the recording area. This will be easier than dragging the dashed lines of the recording window out. Note: Using one of the listed sizes makes it easier to re-record, you don't have to drag out the custom size again.
- Click Confirm when ready.
- If you want to resize the recording window to make a custom size, hover over the dashed lines and when an arrow shows up, click and drag to resize.
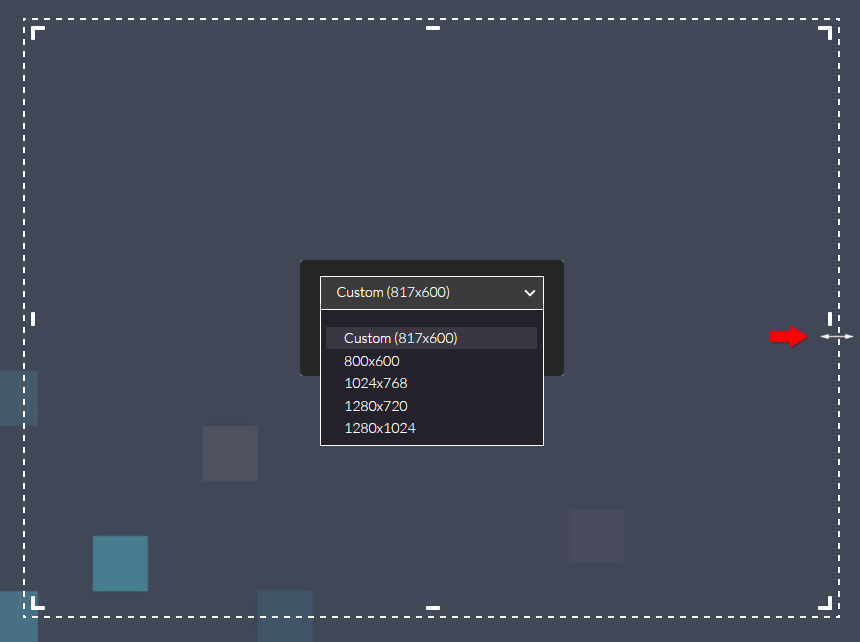
- Click Confirm and press the Start Recording button.
- A three-second countdown timer will indicate when recording will begin. To ensure that nothing is cut off from the beginning, it is a good idea to wait an extra second before you begin speaking.

- You may pause and resume the recording by pressing COMMAND or CTRL+SHIFT+R.
- You may also draw on your screen by using the annotation tools. Click on the pencil icon to open options. The drawing will appear in the recorded video.
4. Click STOP RECORDING SQUARE to finish recording
- It's recommended that you pause your video with COMMAND or CTRL+SHIFT+R and then stop it.
- If you know you want to delete your recording and start again you can also click X to cancel.
- Click the square to stop the recording and select Yes, Stop it to move on to reviewing and saving your video.

- If you'd like to edit your recording please refer to Moodle My Media - How to edit media recordings ( Kaltura Capture).
5. Name & save your recording
- Give your recording a title in the Title field.
- Optionally, you may add a description and tags.
- Clicking SAVE & UPLOAD will upload the recording to My Media and save it in the Kaltura Capture library.
- Clicking SAVE will save it in the Kaltura Capture library where you can upload it to My Media later.
- Important Note: DELETE will remove it from your computer. It will not go into your Recycle Bin and can't be retrieved. Make sure you have either uploaded it into My Media or you would like it to be deleted. Deleting it from My Media will also remove it and can't be retrieved.

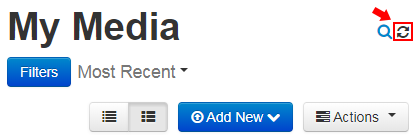
- After uploading the recording to My Media, if you don't see the recording in your My Media library right away, try clicking the refresh button:
Kaltura Capture keyboard shortcuts
Refer to Moodle My Media - Kaltura Capture Keyboard Shortcuts for handy keyboard shortcuts, including how to record without the Kaltura Capture recorder appearing in your recording.
How to share and embed your uploaded video in Moodle
To embed a video in Moodle, please see Moodle My Media - How to upload and share video & audio
How to access the MP4 video files
To download a video in Moodle, please see Moodle My Media - How to download your video.
Troubleshooting
For information on troubleshooting, please see Moodle My Media - Troubleshooting Kaltura Capture.

Content on this page is licensed under a Creative Commons Attribution-ShareAlike 4.0 International license.
Related content
How to Contact the Computer Services Department
Submit a ticket
To submit a ticket, you will be required to log in using your FULL Royal Roads email address (detailed instructions here)
New! If you do not have a full RRU email address (students not currently in a credit program and/or visitors), you can create a portal account using your personal email address.
Email us at IT Customer Service
Contact Form
Phone: 250-391-2659 Toll Free: 1-866-808-5429
Come visit us in the Sequoia Building
Hours of Operation