/
Moodle - Course editing (staff/faculty)
Moodle - Course editing (staff/faculty)
- Former user (Deleted)
- Ignacio Estrella
- Jason 1keddie
Owned by Former user (Deleted)
Last updated: Jul 24, 2023 by Ignacio Estrella
Topics Covered In This Article
Editing Content
The Editing function within Moodle allows you to edit content and organize the units and activities within your course. To change or update your course you need to activate the editing mode.
Enter editing mode by clicking the edit mode on/off button located in the upper right part of the screen.


Edit Options
Once you have turned editing on, existing resources and activities will display a vertical ellipsis icon:
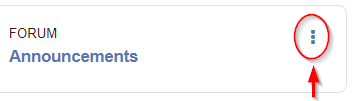
If you click in the ellipsis icon you can access the the following options:
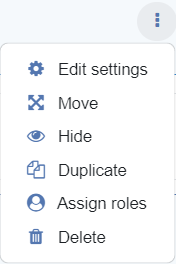
- Edit settings - opens the settings window where you can edit the activity or resource.
- Move - a new window will show options to move the activity.
- Hide - this option means that the activity/resource is currently visible to students; choosing it will hide the activity from student view.
- Show - this means the activity is currently hidden from student view; choosing it will make it visible to students.
- Duplicate - choose duplicate to make a copy of the resource/activity. You will be able to edit the duplicated item.
- Assign roles - this option enables you to change the permission of the resource/activity.
- Delete - choosing this option will remove the resource/activity from the course. Note: A warning message will appear when you attempt to delete content.
Question Marks
/question-mark.png) As you navigate around Moodle you will find question marks next to settings and other tools. Click on the question mark to find out more information.
As you navigate around Moodle you will find question marks next to settings and other tools. Click on the question mark to find out more information.
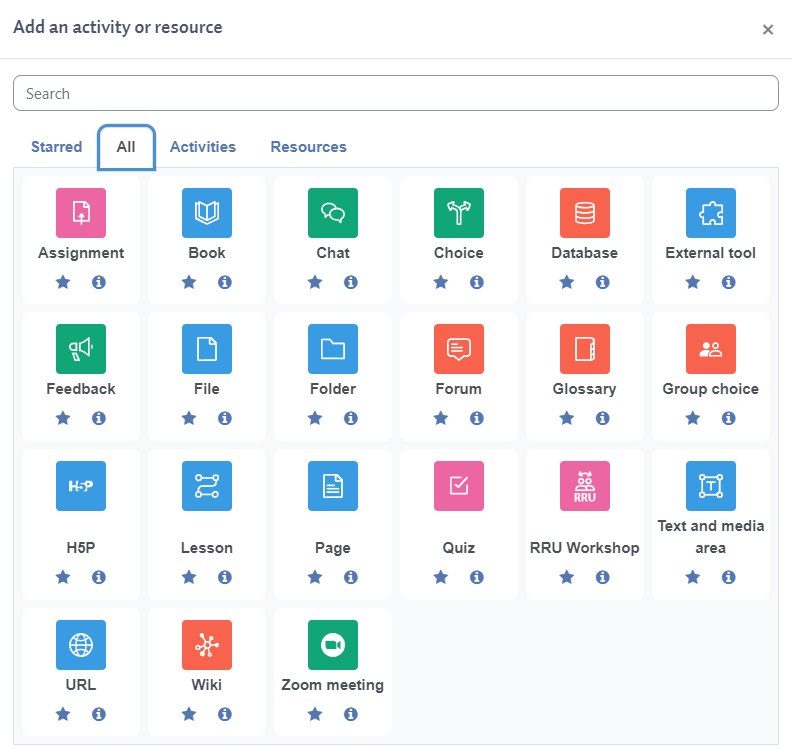
Add an Activity or Resource
At the bottom of the sections/units you can see this selector

Selecting Add an activity or resource opens this menu. To see a description of an activity or resource, click on the radio button next to the activity or resource  .
.
Left-Click the selected activity or resource when you are ready to add it to your course.
Note: Whenever you add a resource or activity to a section, it will appear at the bottom of the section block. To move it, drag and drop it using the/move-handle.png) icon that becomes visible when you hover over the new activity or resource.
icon that becomes visible when you hover over the new activity or resource.
Text Editor
The text editor has many icons to assist the user in entering content.
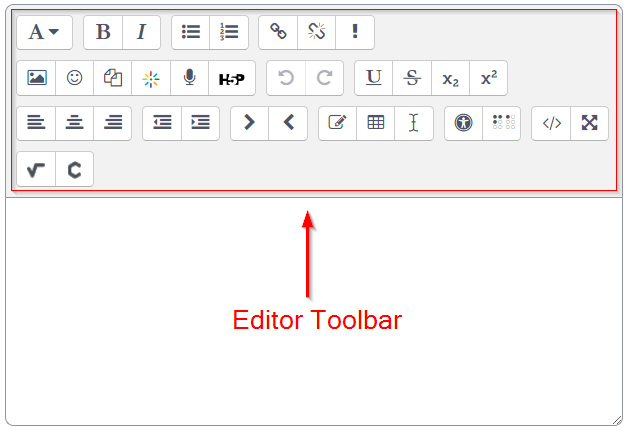
Many of these icons and functions will be similar to using a word processor. The text editor is used to edit content in resources and activities.
Insert Table
When you click on the insert table button  in the text editor, there will be a number of options to configure when creating a new table. There are at least four basic settings that you will want to consider when creating a table:
Caption: the title of your table
Caption position: where on the table your caption will appear (top or bottom)
Define headers on: which axis of the table will appear bolded
Number of columns: The number of columns in the table
Number of rows: The number of rows in the the table

Uploading Files
When you want to upload a file to a resource or activity that accepts file uploads you have the option to use drag and drop or the File picker.Usually the file is copied into Moodle from wherever you have chosen it (e.g., a repository or your computer).
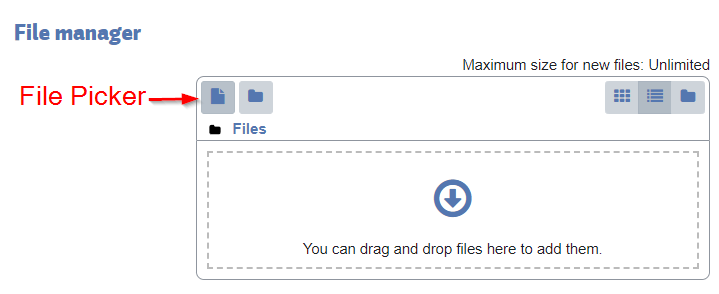
If the file is accessible from your desktop, you can simply drag and drop it into the rectangular box and then click the save button.
If you do not want to drag and drop a file you can open the File picker by clicking on the Add icon shown in the image above.
After clicking the Add button the File picker screen appears. There are a number of links listed down the side. These are links to Repositories that hold files you may want to use. The most common repositories in use are Server files and Private files, but there could be additional repositories depending on where in the course you are accessing the File picker. There is also an Upload a file link, which you would click on to upload a file located on your computer.

Moving Sections, Activities, and Resources
You can reposition your sections, activities, and resources, by using the move icon next to each. For example, you might move a Forum from week 1 to week 2 or you might move the week 4 section up to week 2.
To begin, you need activate edit mode.
There are three methods:
Method 1. Drag and drop.
Steps
- Turn edit mode on
- Hover the mouse over the activity or resource you want to move, the mouse pointer will change to
 .
. - Click and drag the activity into the new location. You will see an horizontal line indicating the new location.
- Drop the activity in the desired location.
Method 2. Use the ellipsis menu of the activity you want to move
Steps
Activate edit mode
Click on the ellipsis menu to the right of the resource or activity you'd like to move, select Move from the dropdown menu, and then select the destination from the screen that appears.
Method 3. Use the course index
Steps
Activate edit mode
- Click on the icon to the right of the name of the resource or activity you'd like to move, drag and drop it in the new location.

Content on this page is licensed under a Creative Commons Attribution-ShareAlike 4.0 International license.
Related Articles
, multiple selections available,
How to Contact the Computer Services Department
Submit a ticket
To submit a ticket, you will be required to log in using your FULL Royal Roads email address (detailed instructions here)
New! If you do not have a full RRU email address (students not currently in a credit program and/or visitors), you can create a portal account using your personal email address.
Email us at IT Customer Service
Contact Form
Phone: 250-391-2659 Toll Free: 1-866-808-5429
Come visit us in the Sequoia Building
Hours of Operation