How To Create A Screenshot With The Snipping Tool
- Jason 1keddie
This article will explain how to take a screenshot or a portion of a screenshot in Windows. The instructions should work in Windows 7 or newer.
If you would like information on creating a screenshot on Mac OS, click here.
Windows has a utility called the Snipping tool which allows you to capture an image of the screen or a portion of the screen. This captured portion of the screen–the snippet–can then be marked up to highlight certain portions of it, saved, or emailed.
Steps to use the Windows Snipping tool:
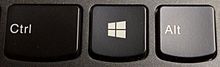
Click the Windows key on your keyboard. This will pop up the Search Programs and Files box.
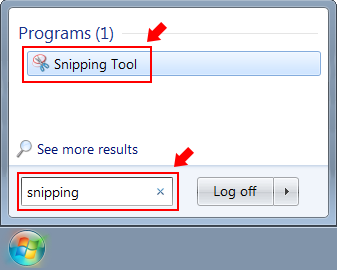
Type in 'Snipping' and then either press the enter key or click on Snipping Tool to launch the Snipping tool.
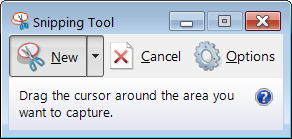
The snipping tool will look a bit different depending on your version of Windows. On some versions of Windows the Snipping tool is automatically ready for snipping (the screen looks faded), while on others you need to click the New button first. If the screen doesn't look faded, then click on the New button to start snipping.
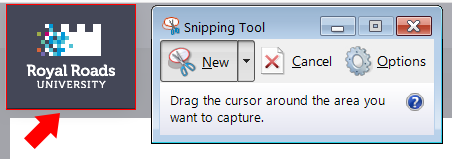
To snip a portion of the screen, drag the mouse from the top left corner to the bottom right corner to select the object that you would like to snip. In the following example, the Royal Roads University logo has been selected for snipping.
After snipping the logo, it will appear in the Snipping tool:

Once you've created the snippet, you can mark it up using the pen tool, if needed, and then either save it, copy it, or email it.
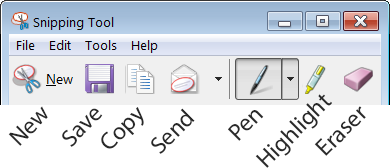
The Snipping tool menu has the following features: (your version may be a bit different)
- New: Click New to create a new snippet.
- Save: Save the snippet.
- Copy: Copy the snippet, allowing you to paste it into another program such as a Word document.
- Send: Email the snippet.
- Pen: Draw on the snippet to highlight or label portions of it.
- Highlight: Highlight portions of the snippet in bright yellow. Highlight is not recommended, as some people with colour vision impairment will not be able to differentiate highlighted sections.
- Eraser: Erase portions you've marked up with pen or highlighter. It does not erase the original snippet, only the pen or highlighter.
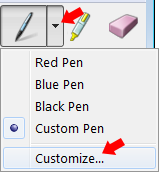
To bring attention to certain parts of the snippet, the pen tool is recommended. To customize the pen tool, click on the arrow to the right of the pen button and then click customize.
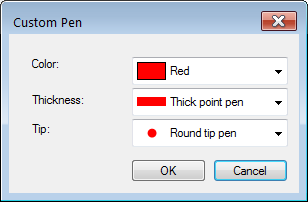
The Customize pen window allows you to select the colour, thickness, and tip of the pen. Select the thickness that makes sense for the size of your snippet, as a larger snippet will likely warrant a thicker pen. On most snippets the thick point pen and round rip make a good combination to help ensure that the mark up is clearly visible.
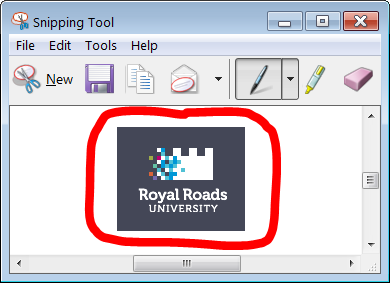
Here's an example of the Royal Roads University logo with a circle around drawn around it with the pen tool:
When you're finished, you can click either the save button to save the snippet, the copy button in order to paste the snippet into another program, or the send button to email the snippet.

Content on this page is licensed under a Creative Commons Attribution-ShareAlike 4.0 International license.
Related content
How to Contact the Computer Services Department
Submit a ticket
To submit a ticket, you will be required to log in using your FULL Royal Roads email address (detailed instructions here)
New! If you do not have a full RRU email address (students not currently in a credit program and/or visitors), you can create a portal account using your personal email address.
Email us at IT Customer Service
Contact Form
Phone: 250-391-2659 Toll Free: 1-866-808-5429
Come visit us in the Sequoia Building
Hours of Operation