Zoom: How to download a Zoom cloud recording and embed it in Moodle using Kaltura My Media
If you're an instructor or staff and want to regularly share recordings with students, consider using the Zoom Moodle Activity which can automatically share recordings with students.
If you need to keep the recording long term or have other reasons to share the recording using My Media (as opposed to simply sharing a link to the cloud recording), this is the article for you.
The following guide will show how to add a Zoom cloud recording link to a page in Moodle using My Media.
The first step is finding the recording. You probably have Zoom sending you automatic notifications when your recordings have completed processing, so when you get this email click on the Share link that it provides and this will take you directly to the current recording and show you some options. The default options are recommended so just click Done. If thisis the case, please skip to the step for adding the link to Moodle down below.
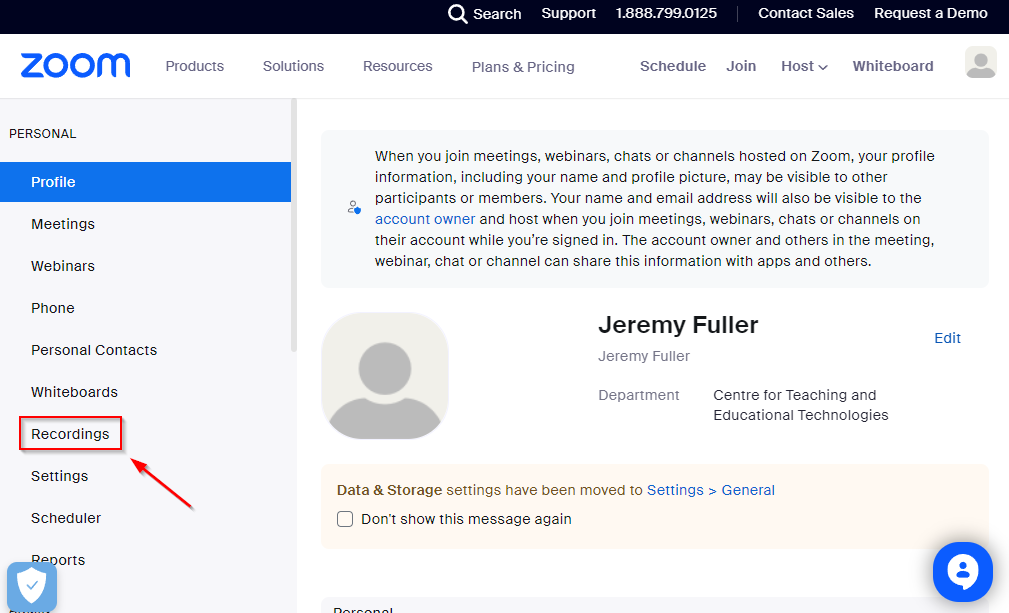
If you don't receive the email notifications, another way to find your recording is to go to zoom.us and login. You may need to click on My Account in the top right if that link appears for you, then on the left side, click on Recordings.
It will default to Cloud Recordings and you will need to select the meeting that you want the recording from.
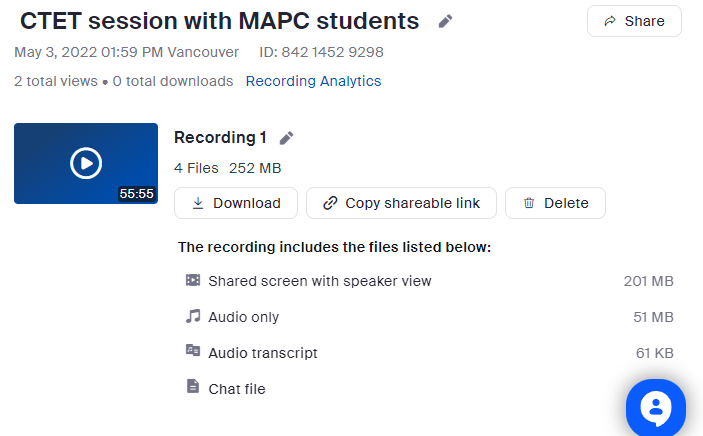
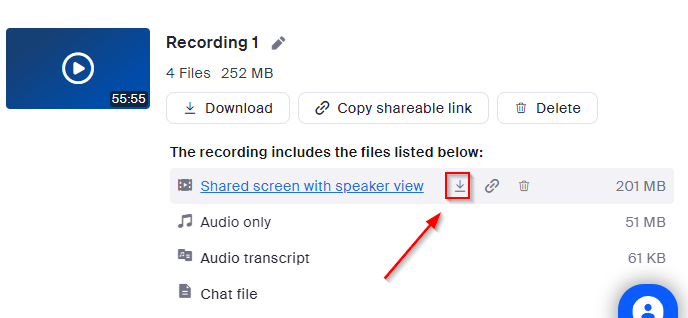
From this view, hover the mouse over the "Shared screen with speaker view" and choose the download link:
You will see the videos appear in your downloads folder when complete. Please note that the filenames will begin with the recording time in GMT so if you wish to convert these to PST to make them easier to identify, please rename them and subtract 7 hours (or you can use a more descriptive filename that includes the course name instead).
Adding the link to Moodle
Now that you have found the recording you want (you can view the timestamp for each one to help narrow things down), the next step is to put it into Moodle somewhere. To do this, select Add an activity or resource (if you cant see this option, please toggle on editing mode in the upper right).

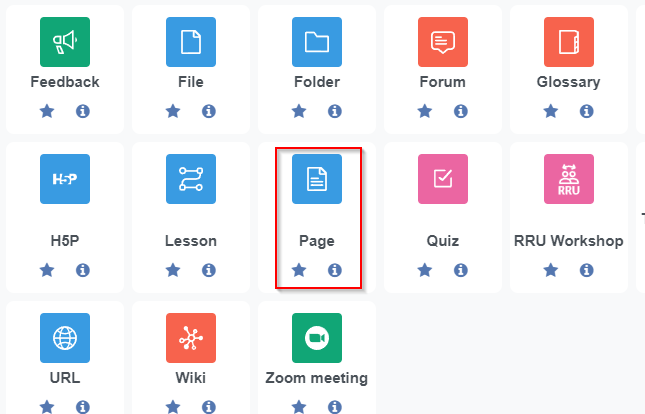
From the list of activities select Page.
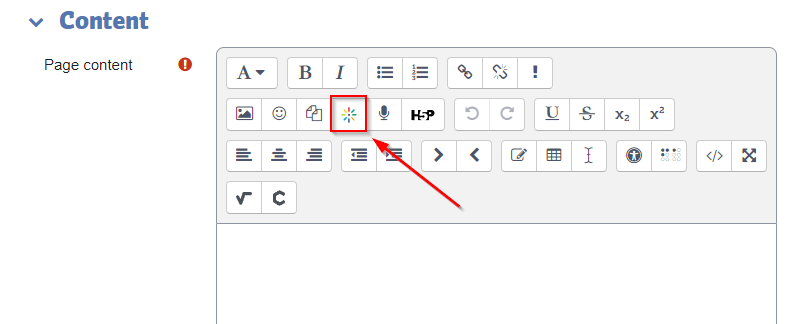
and call it Zoom Recordings and in the content window you can add a title for the video and then click on the My Media button in the editor options:
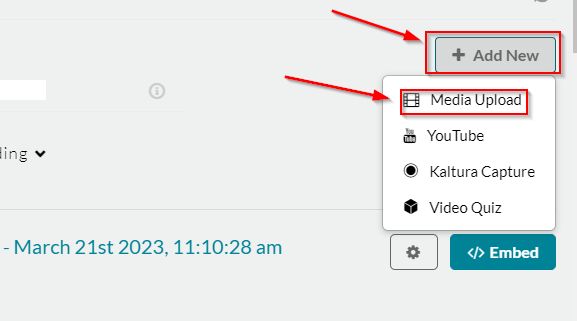
This will open up a new window where you click Add New then choose Media Upload
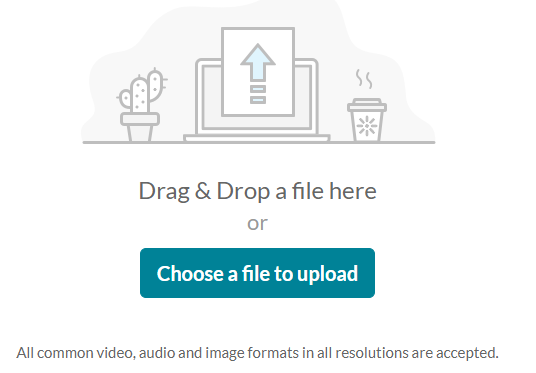
From this screen you can drag and drop the file into the window or choose the option to Choose the file to upload which will let you browse to it on your hard drive.
While the video is uploading you can change the name and description it you prefer. Once it is done and the bar has turned green you can then select Save and Embed in the upper right.
Now you will see a clickable link in the content section that starts with "tinymce.." If you wish you can add more videos following the same steps.
The next step is to click Save and Display at the bottom. If the video is small, it will display right away, but if it is longer, you will see a "Media is being Processed" image. After this is done, the video will display automatically for anyone visiting the page.
Additional Tips
- If you're staff and find that downloading and uploading videos is taking a long time, we recommend logging into RRU Remote (remote desktop) and doing the downloading/uploading there, as it will leverage the speedy university internet connection.
- If you plan to have a large number of recordings (10+) we recommend embedding the recordings into a Moodle Book, instead of a page. Each page in the book could represent the recordings for a day/week/team/project/etc., whatever makes sense for your course.

Content on this page is licensed under a Creative Commons Attribution-ShareAlike 4.0 International license.
How to Contact the Computer Services Department
Submit a ticket
To submit a ticket, you will be required to log in using your FULL Royal Roads email address (detailed instructions here)
New! If you do not have a full RRU email address (students not currently in a credit program and/or visitors), you can create a portal account using your personal email address.
Phone: 250-391-2659 Toll Free: 1-866-808-5429
Come visit us in the Sequoia Building
Hours of Operation