The following guide will show how to add a Zoom cloud recording link to a page in Moodle. To add additional links, just add them under the first one on the page.
The first step is finding the recording. You probably have Zoom sending you automatic notifications when your recordings have completed processing, so when you get this email click on the Share link that it provides and this will take you directly to the current recording and show you some options. The default options are recommended so just click Done. If thisis the case, please skip to the step for adding the link to Moodle down below.
If you don't receive the email notifications, another way to find your recording is to go to zoom.us and login. You may need to click on My Account in the top right if that link appears for you, then on the left side, click on Recordings.
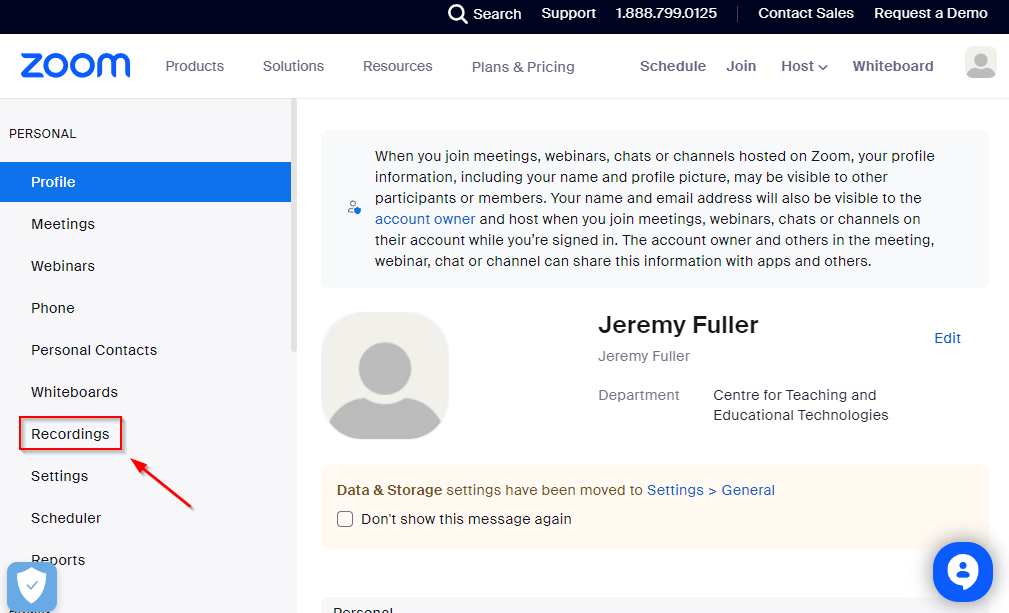
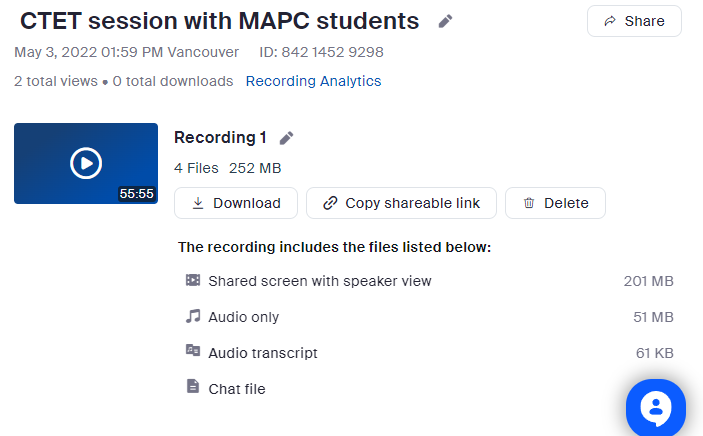
It will default to Cloud Recordings and you will need to select the meeting that you want the recording from.
Adding the link to Moodle
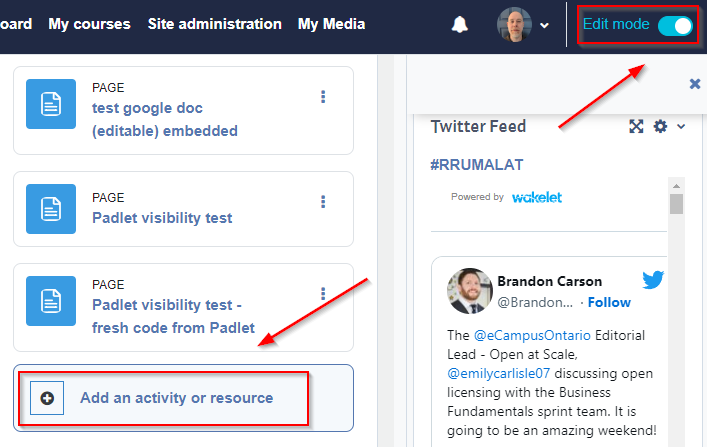
Now that you have found the recording you want (you can view the timestamp for each one to help narrow things down), the next step is to put it into Moodle somewhere. To do this, select Add an activity or resource (if you cant see this option, please toggle on editing mode in the upper right).
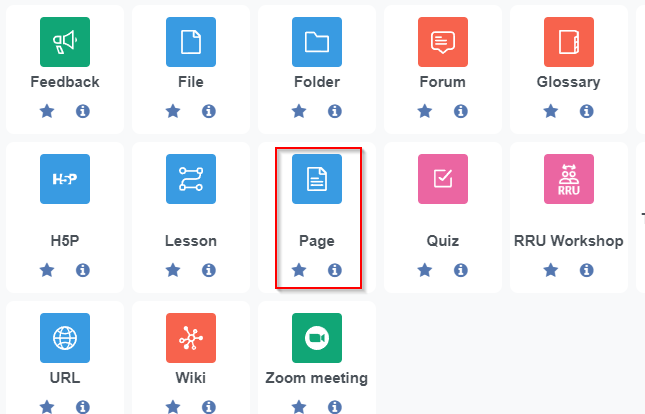
From the list of activities select Page.
and call it Zoom Recordings and in the content window you can add in the zoom link. To get the link, go back to the zoom recording page and copy the time and date stamp and paste it into Moodle.
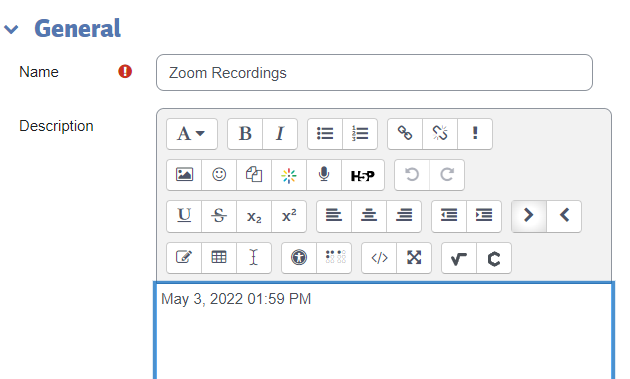
then go back to Zoom again and click the link button next to the Shared Screen with Speaker View.
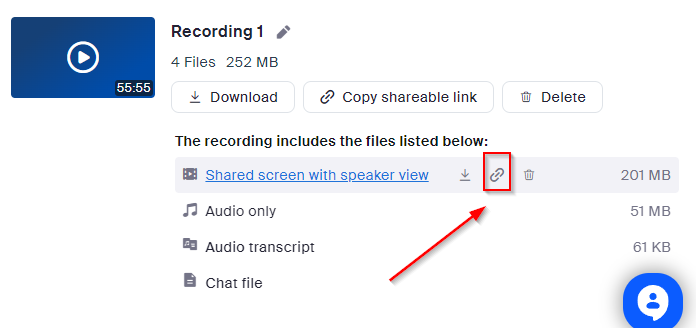
You will see a message pop up that says the Shareable link has been copied to the clipboard. Then go back to Moodle, select the timestamp text then click the link button
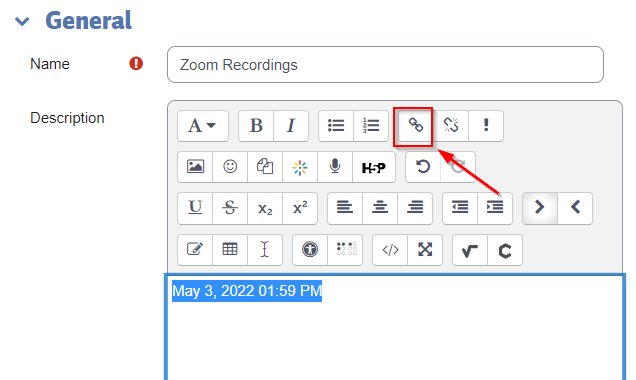
and paste in the zoom link you just copied and select "Open in a new window" then select Create Link.
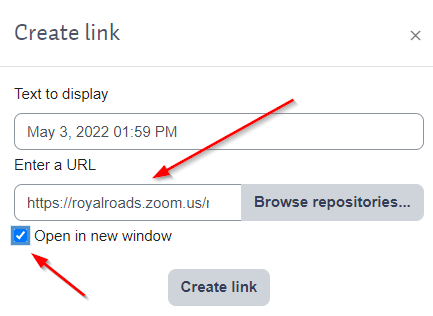
Now select Save and Display.
At this point you can now click the link and make sure it works as intended.

Content on this page is licensed under a Creative Commons Attribution-ShareAlike 4.0 International license.