Topics Covered In This Article
- Moodle My Media - How to create a narrated presentation (using CaptureSpace)
- How to create a narrated presentation
- How to embed the presentation
- Moodle My Media - How to create a narrated presentation (using CaptureSpace)
Introduction
A narrated presentation is a recording of a presentation (e.g. a PowerPoint presentation) with voice-over at the same time. You can also record yourself speaking so the viewer sees your slides and you delivering the presentation. Narrated presentations may be useful for recording lectures, student presentations, etc.
You can record a narrated presentation directly from your My Media page. To do this, you will need to install the My Media application called CaptureSpace. Once you have made your recording, you can upload to your My Media library and embed it anywhere the Moodle text editor is available. Your presentation slides (i.e. PowerPoint in .PPTX or .PPT format) need to be prepared in advance.
NOTE: You cannot download recordings of your narrated presentation.
To learn how to make a narrated presentation, watch this video or read step-by-step instructions (below).
How to create a narrated presentation
1. Open CaptureSpace
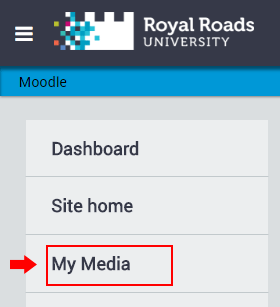
- From Moodle, click on the User menu in the top right and click My Media.
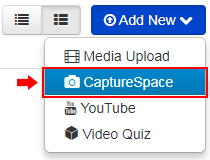
- From the My Media window, click on Add New and then CaptureSpace.
- If you’ve already installed CaptureSpace, it will launch automatically. Otherwise, please refer to Moodle My Media - Installing CaptureSpace.
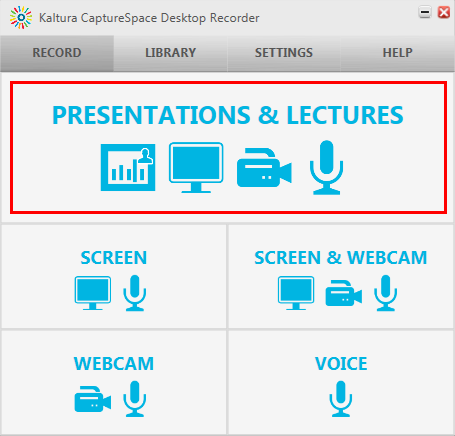
2. Select PRESENTATIONS & LECTURES in the CaptureSpace recorder
- With the CaptureSpace Desktop Recorder window open, select Presentations & Lectures.
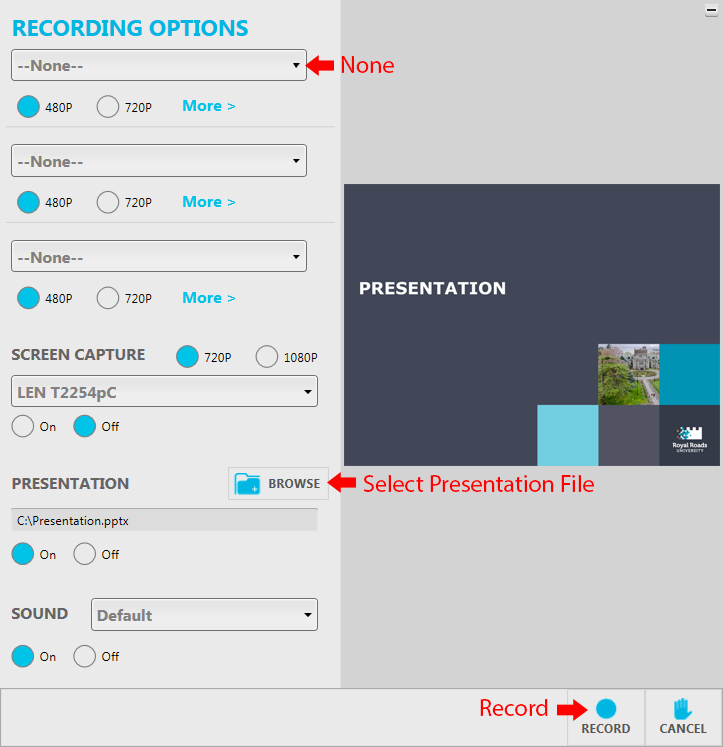
3. Select your RECORDING OPTIONS & click RECORD
Presentation recording has many options, but these instructions will suggest basic settings that will allow you to create a narrated presentation.
Set the camera recording options to None if you want to record your presentation without webcam. If you want your recording to include your webcam, leave the default setting.
Browse for and select the presentation file that you wish to use (PPT and PPTX files supported).
When finished with the options, click the Record button.
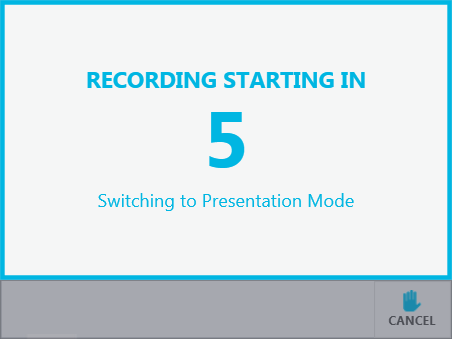
- A five-second countdown timer will indicate when recording will begin. To ensure that nothing is cut off from the beginning, it is a good idea to wait an extra second before you begin speaking.
- Click Pause to pause the recording, click Done when you are finished making your recording, or click cancel if you would like to restart the recording.
- You may also pause or resume the recording by pressing Alt-P.
4. Click DONE to finish recording
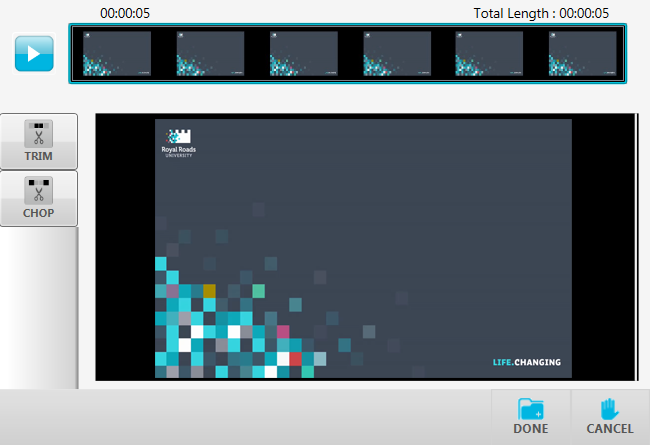
- Click Done to move on to reviewing your video.
- If you'd like to edit your CaptureSpace recording please refer to Moodle My Media - How to edit media recordings (CaptureSpace).
- If you do not wish to edit your recording, click Done.
5. Name & save your recording
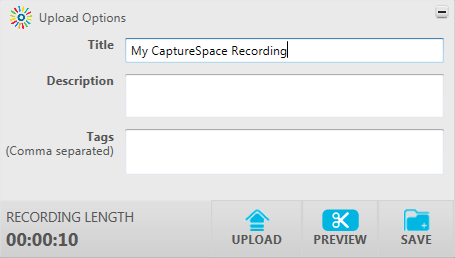
- Give your recording a title in the Title field.
- Optionally, you may add a description and tags.
- Clicking UPLOAD will upload the recording to My Media and save it in the CaptureSpace library.
- Clicking PREVIEW will take you back to the editing window.
- Clicking SAVE will save it in the CaptureSpace library where you can upload it to My Media later.
- After uploading the recording to My Media, if you don't see the recording in your My Media library right away, try clicking the refresh button:
How to embed the presentation
- To embed your narrated presentation in Moodle, please see Moodle My Media - How to upload and share video & audio
Troubleshooting
- For information on troubleshooting, please see Moodle My Media - CaptureSpace troubleshooting.
