Moodle My Media - How to edit video
Topics covered in this article
Introduction
This article describes how to use the basic video editing tools in My Media to edit videos in your My Media library. Video editing functionality includes trimming (deleting some of the beginning or end) or deleting a section of the video.
These instructions assume that you have a video in your My Media library that you would like to edit. YouTube videos added to you My Media library cannot be edited.
How to open the video editor
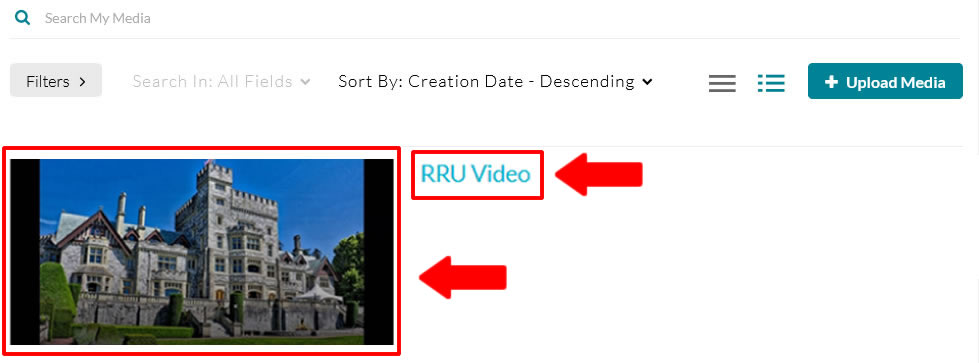
- From Moodle, click on My Media top right.

- Choose the image or the text to the right or the image..
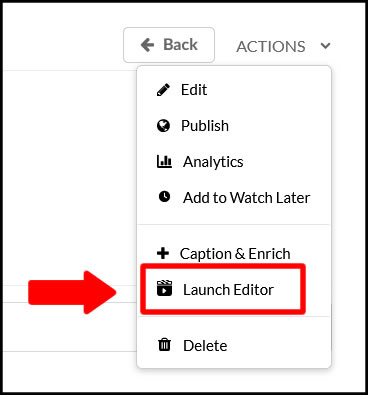
- Select Actions and then Launch Editor.
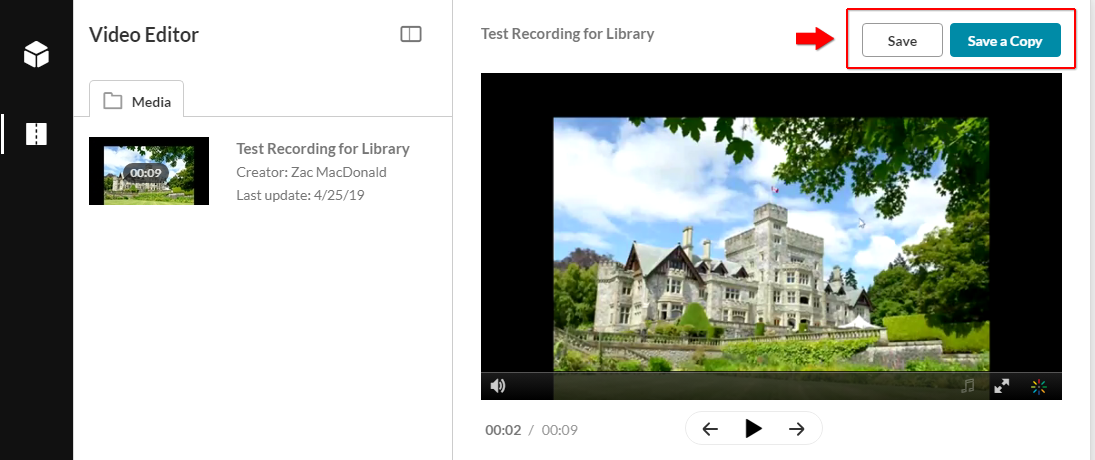
Video editor interface
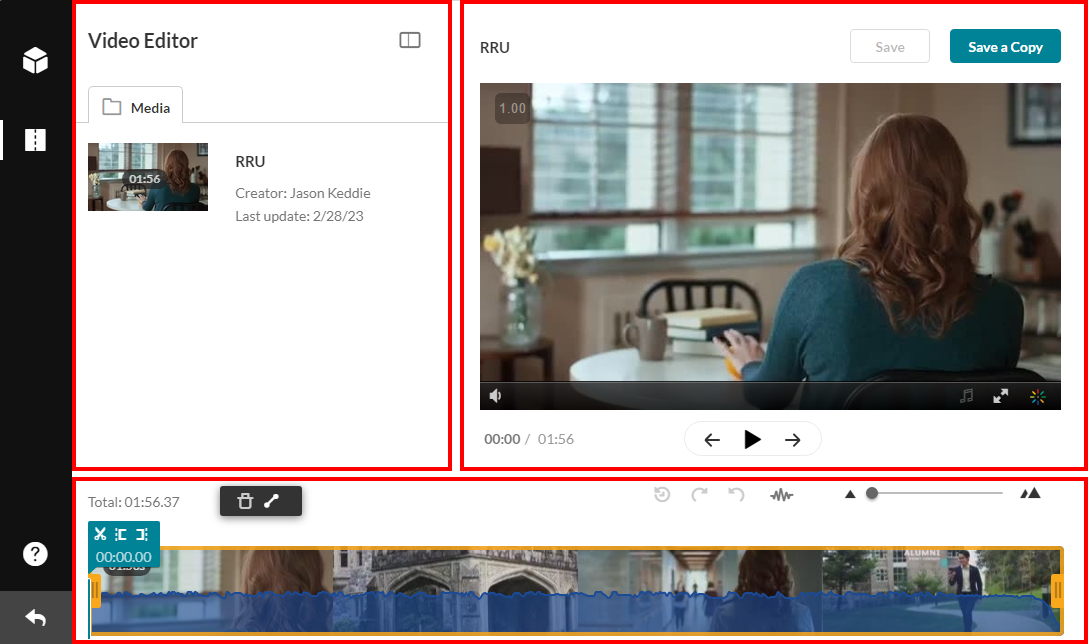
- The Video Editor has three main areas:
- Left panel: displays video details.
- Right panel: media player.
- Bottom panel: video timeline.
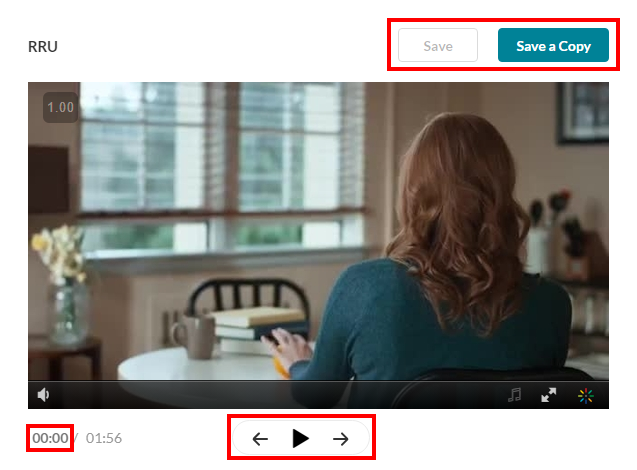
- The media player includes the following:
- Save and Save a Copy buttons. Save will save over top the existing video. Save a copy will save your edited video as a new video, keeping the original.
- At the bottom left is the Jump-to-time field. Typing a time into this field will jump the video to that exact time.
- The remaining buttons are Jump-to-start, Play/Pause, and Jump-to-end.
- The timeline starts with the full video, which you'll usually reduce through editing.
- From left to right, in three groups, the buttons are:
- Delete and Fade-in/Fade-out
- Reset (discard all editing changes), Redo, Undo, and, Show/hide audio (show or hide audio track on timeline).
- Zoom in/out on the video timeline.

- The Real Time Marker shows where you are in the video. Enter a time into the Jump-to-time field in the player panel to jump the Real Time Market to a specific time, or click or drag the Real Time Marker.
- Split splits the video into two sections at the currently marked time, allowing you to delete one section or change its length.
- Set In, Set Out: use to set cue points on your time line.

- Handlebars
- Left and right handlebars: use to resize sections of your video.

- Left and right handlebars: use to resize sections of your video.
How to trim a video (set the start and end)
- First, determine where the video should end. Here are two ways to set where the video should end:
- If you know the time the video should end at, drag the right Handlebar until the Total time matches. If you need more precision, use the Zoom in button and fine tune the right Handlebar.

- If you're not sure where the video should end, select in the timeline near the end of the video and select Play. Let the video play until it reaches the desired end and then pause it. Select the Set Out button to set this as the end of the video.


- If you know the time the video should end at, drag the right Handlebar until the Total time matches. If you need more precision, use the Zoom in button and fine tune the right Handlebar.
- Next, set the start of the video.
- If you know the time the video should start at, type it into the Jump-to-time field. If you need more precision, use the Zoom in button and drag the Real Time Marker into position. Select the Set In button to set this as the start of the video.


- If you're not sure where the video should start, select play and then pause it just before the video starts. If you overshoot the start, you can back it up slightly by typing the current time minus a second or two into the jump-to-time field. Select the Set In button to set this as the start of the video.
- If you know the time the video should start at, type it into the Jump-to-time field. If you need more precision, use the Zoom in button and drag the Real Time Marker into position. Select the Set In button to set this as the start of the video.
- You can always use the Reset and Undo buttons just above the timeline to reverse mistakes. Reset will reset all changes. Undo will undo the last change.

- When you're happy with your edit, select SAVE a Copy to save your changes as a copy (keeping the original video).
How to delete a section of the video
- You'll need to mark the start and end of the section of the video that you would like to delete.
- We'll begin with the start. Drag the Real time marker into position to mark the start of the section to delete. You can press Play and pause to get the exact spot correct. Once it's in the correct position, select the Split button (scissors icon).


- Next you'll need to mark the end of the section that you would like to delete. Repeat the last step to mark the end of the section you're deleting.
- If it's not already selected, select the section to delete and select the Delete button.

- Once the section is deleted a gap will be left. The gap will be automatically removed when the video is saved, so you can ignore this.

- You can always use the Reset and Undo buttons just above the timeline to reverse mistakes. Reset will reset all changes. Undo will undo the last change.
- When you're happy with your edit, select SAVE a Copy to save your changes as a copy (keeping the original video).
Watch a video on editing videos in My Media
Note: Creating or adding titles and credits are not available.
Troubleshooting
For information on troubleshooting, please see Moodle My Media - Troubleshooting Kaltura Capture and My Media.

Content on this page is licensed under a Creative Commons Attribution-ShareAlike 4.0 International license.
How to Contact the Computer Services Department
Submit a ticket
To submit a ticket, you will be required to log in using your FULL Royal Roads email address (detailed instructions here)
New! If you do not have a full RRU email address (students not currently in a credit program and/or visitors), you can create a portal account using your personal email address.
Phone: 250-391-2659 Toll Free: 1-866-808-5429
Come visit us in the Sequoia Building
Hours of Operation