Topics
...
covered in this article
- Moodle My media - Creating voice-only recordings using CaptureSpace
- How to record a screencast using Kaltura CaptureSpace
- How to embed audio
- How to access the MP4 video files
- Moodle My media - Creating voice-only recordings using CaptureSpace
...
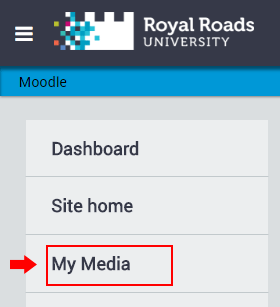
- From Moodle, click on the User menu in the top right and click My Media.
- From the Kaltura My Media window, click on Add New and then CaptureSpace.
...
- If you’ve already installed CaptureSpace, it will launch automatically. Otherwise, please refer to Moodle My Media - Installing Kaltura CaptureSpace.
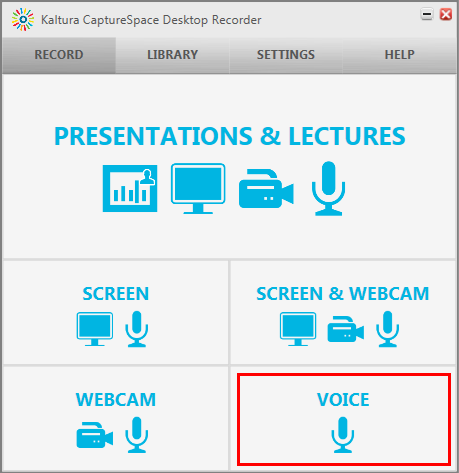
- With the CaptureSpace Desktop Recorder window open, select Webcam to record the webcam.
- A five-second countdown timer will indicate when recording will begin. To ensure that nothing is cut off from the beginning, it is a good idea to wait an extra second before you begin speaking.
- You may pause and resume the recording by either clicking the Pause button or by pressing Alt + P.
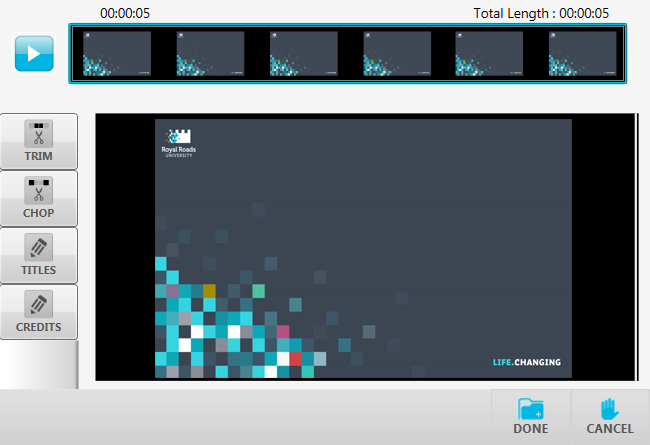
When you're finished with your recording click the Done button.
If you would like to delete the recording and re-record it click the Cancel button. - If you'd like to edit your CaptureSpace recording please refer to Editing CaptureSpace Recordings.
...
To embed a video in Moodle, please see Moodle My Media - Sharing video & audio using Kaltura.
| Anchor | ||||
|---|---|---|---|---|
|
...
For information on troubleshooting, please see Moodle - My Media - CaptureSpace troubleshooting.


