...
Moodle accepts .jpg, .png and .gif image formats.
Uploading and displaying an image
Note: It is a good idea to resize your image before uploading, rather than altering its dimensions online. Jump to the section on image resizing to quickly resize an image.
- With editing turned on, access the text editor where you want to display your image (e.g., in a course summary, label, page etc.)
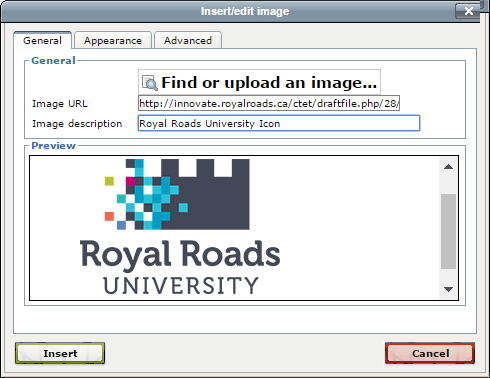
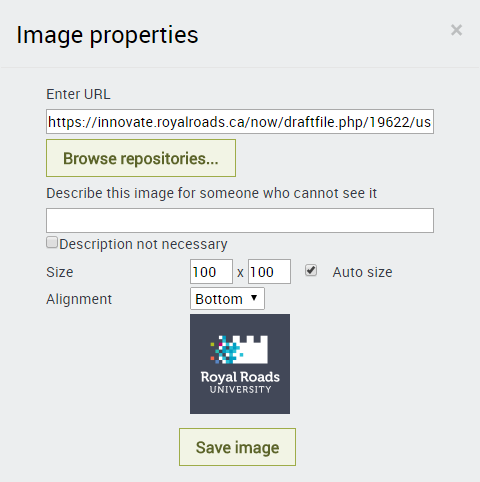
- Click the image icon in the text editor
...
- The file picker opens and you can choose to Upload a file or navigate the system to find an existing image (either in system files or private files).
- Ensure that you have permission to use the image. Images downloaded from the internet cannot be used without permission of the copyright owner.
- Once you have chosen or uploaded an image add a description in the image description box, then click insert. The description in the Image description box should describe what the image is and what meaning the image is intended to convey.
Displaying an image located online outside of
...
Moodle
- If you have images available elsewhere online, you can display them too without the need to upload to moodleMoodle.
Note: If the image is taken offline, it will be replaced by a red X on your course page.
- Follow the instructions for Uploading and Displaying an image as above.
- After clicking on Find or Upload an image, paste the URL of the image you have online into the Image URL box.
- Add a description of the image and click Insert.
- Ensure that you cite the image source directly below the image.
- Save changes.
Embedding image from an image sharing site that uses embed code (e.g., Flickr, Picasa etc.)
- Go to your chosen image sharing site and find the embed code for the image you wish to display. Copy this code.
- With editing turned on, click into the HTML editor where you wish to embed the image.
- Ensure that the editor menu is expanded. You can toggle the expanded menu by clicking the button in the top left:
- Click the HTML code icon as in the following screenshot:
- Paste the embed code your copied into the HTML box
- Ensure that you cite the image source direclty below the image
- Anywhere that moodleMoodle's TinyMCE text editor is available, it is possible to embed an image, for example in a label or a page, a course topic summary, a quiz description or a lesson.
- Use this method for images you have uploaded to an image sharing site or images that allow embedding.
...
- After clicking the image icon in the text editor, the appearance tab will be available to help you better display your image.
- Choose from the Alignment dropdown drop-down menu how you want the image to be set against any text. The block with the tree and text show how each option will display.
- Resize the image in the dimensions boxes if desired.
- If desired, add a number (in pixels) for a vertical or horizontal space or border around the image.
...
- Unless they're small, images should usually be set to Class img-responsive. This will allow the image to shrink if the image is viewed on a smaller-screened device such as a phone.
Resizing an image
If an image is much larger than it needs to be for the course site it is best to resize the image so that it does not slow down loading of the course site. This will provide users with a better experience. There are many programs on both Windows and Mac to achieve this. If you're not sure what to use, here are some simple instructors to resize an image using a free web-based tool:
- Navigate to befunky.com/create
- Click upload at the top. Find your image and open it.
- Click resize on the left and resize your image. If you set the width and click tab, it will automatically set the height. If in doubt as to what width to set, here are some suggestions:
- Small image 200 px
- Medium image 400 px
- Large image 800 px
- Once your image is resized, click the check mark button to save the changes.
- Click the Save button at the top to save your image. Screenshots are usually best saved in PNG format. If in doubt, use PNG.


